Modern websites have become more and more extensive. At some point, a user may feel confused due to a large amount of content. At the same time, the website itself starts to be hard to use. Then the need to create a convenient, easy to develop, and maintain navigation appears. The solution which will work great in this case is a mega menu.
What is a mega menu?
A mega menu is a type of navigation consisting of several levels, used on websites. The first level looks like a standard list of links, but after hovering over one of its elements, additional options are shown. These options consist not only of a list of links in the second level of navigation but often have a third or even fourth level. Sometimes there are also visible photos or even videos. A menu built in this way is visually appealing to the user and allows them to easily find their way around large websites.
Below you can see the example of how the mega menu works on the webpage built in Droopler.

Mega menu in Drupal
In the Drupal CMS, creating a mega menu is quite a difficult task. That’s why the modules that simplify building advanced navigation were made. One of them is Mega Menu. Not only will it save you countless time creating and customizing complex navigation, but at the same time make your website amazingly impress your users.
Here’s how the Mega Menu module works: based on the default Drupal menus, the configurable mega menus are created. We can add to them submenu or even the whole blocks, using a friendly configuration interface. The additional option is the possibility to add a few columns in the submenu, setting styles, and animations.
Source: Drupal.org
However, it’s important to mention the downsides of Mega Menu. One of them is that the module uses a separate Bootstrap library. This not only increases the size of the CSS and JS files, but also conflicts with the Bootstrap library used on the websites. The second disadvantage is that the navigation built with the Mega Menu module is poorly optimized for mobile devices.
In Droopler, a Drupal distribution, we rewrote the frontend part of the module from scratch. This way, we eliminated the most significant downsides of the default Mega Menu module. On the example of Droopler, we’ll show you how you can create with this module an extensive menu for your website.
Creating an extensive menu in Droopler
Droopler is a Drupal-based distribution dedicated to building corporate websites. It contains ready-to-use elements and tools enabling quick creation of the websites.
Main menu configuration
We can find the main menu settings in the Drupal administration menu in Structure. Next, in Drupal 8 Mega Menu, we look for the Main navigation element and from this element's menu, we go to Edit links.

After going to the edit page, the working structure of the main menu appears, which we can freely edit using the "drag and drop" method. To add more levels to the menu, we need to move the secondary element to the right to create an "indentation".
Adding new blocks
To add a block to the menu, we must first add a new content block. We go to Structure -> Block Layout -> Add custom block and select the content block.

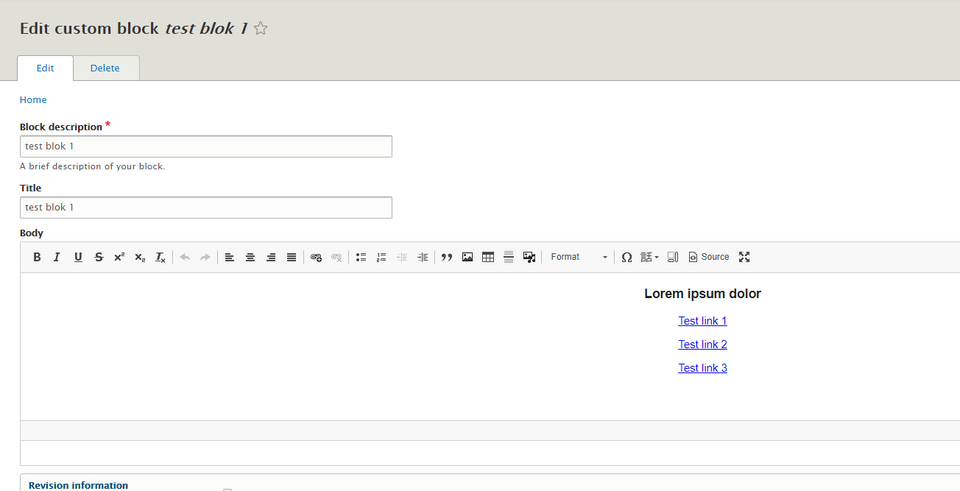
The system takes us to a form, where we add a new block. We fill out the title and the content of interest. In this case, it’ll be the title and a few links. Next, we add another block with the content and photo.
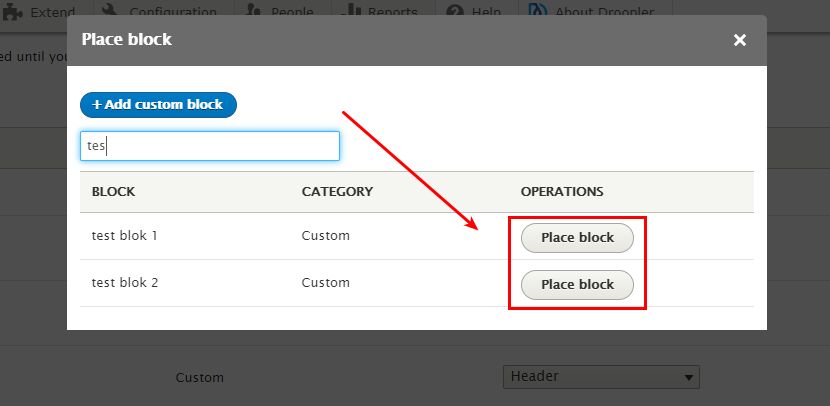
After adding two blocks, we need to add them to the region on the page and - at the same time – disable the display of these blocks in the region. In the Block Layout of the header section, we click Place Block, and then select from the popup window the block we want to add and click Place block. In the next step, we uncheck the show title option and save.
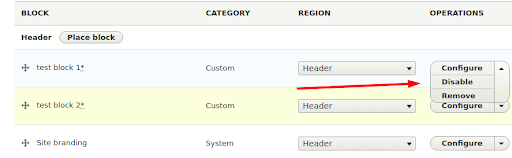
When the blocks are added to the region, we should disable them. To do this, we click Disable in the block's action menu.
After completing this step, we can start adding blocks to the menu. To do this, we go to Structure, Drupal 8 Mega Menu, and then click config next to the main navigation.
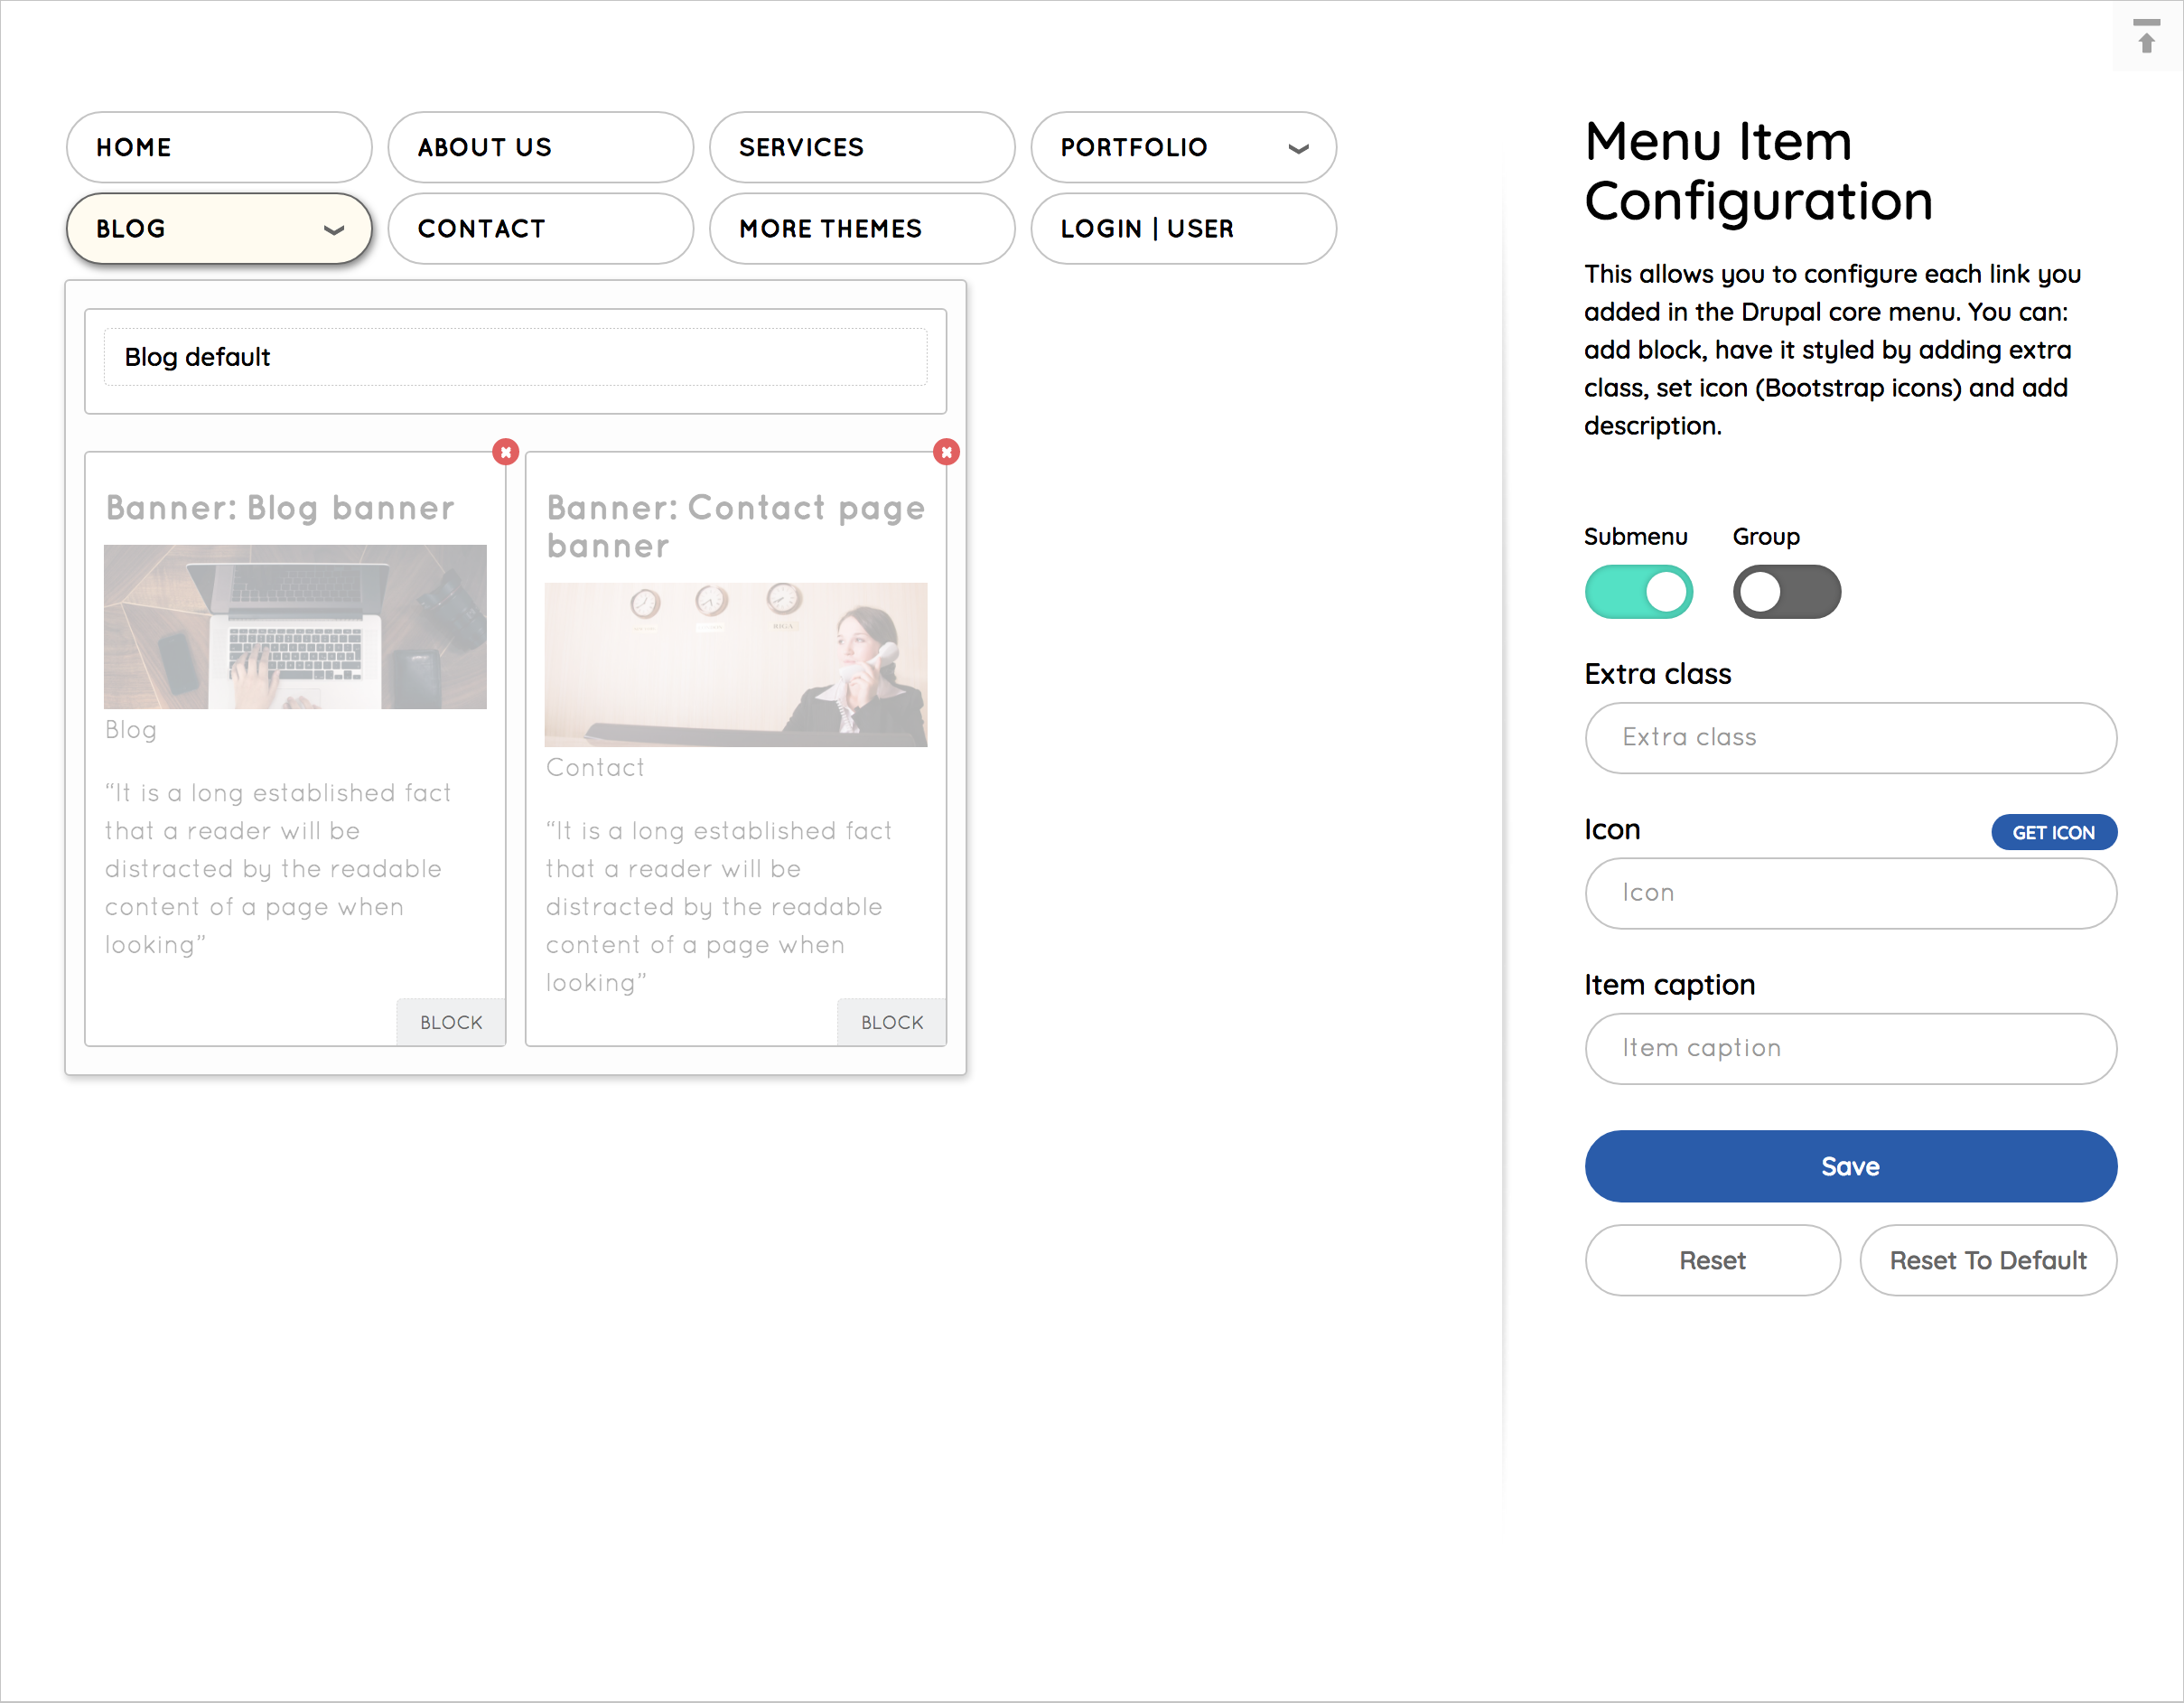
We are taken to the menu edit. In our case, we’ll add blocks to the "products" element. After clicking "products", a configuration panel appears on the right. We check the Submenu in it as active.
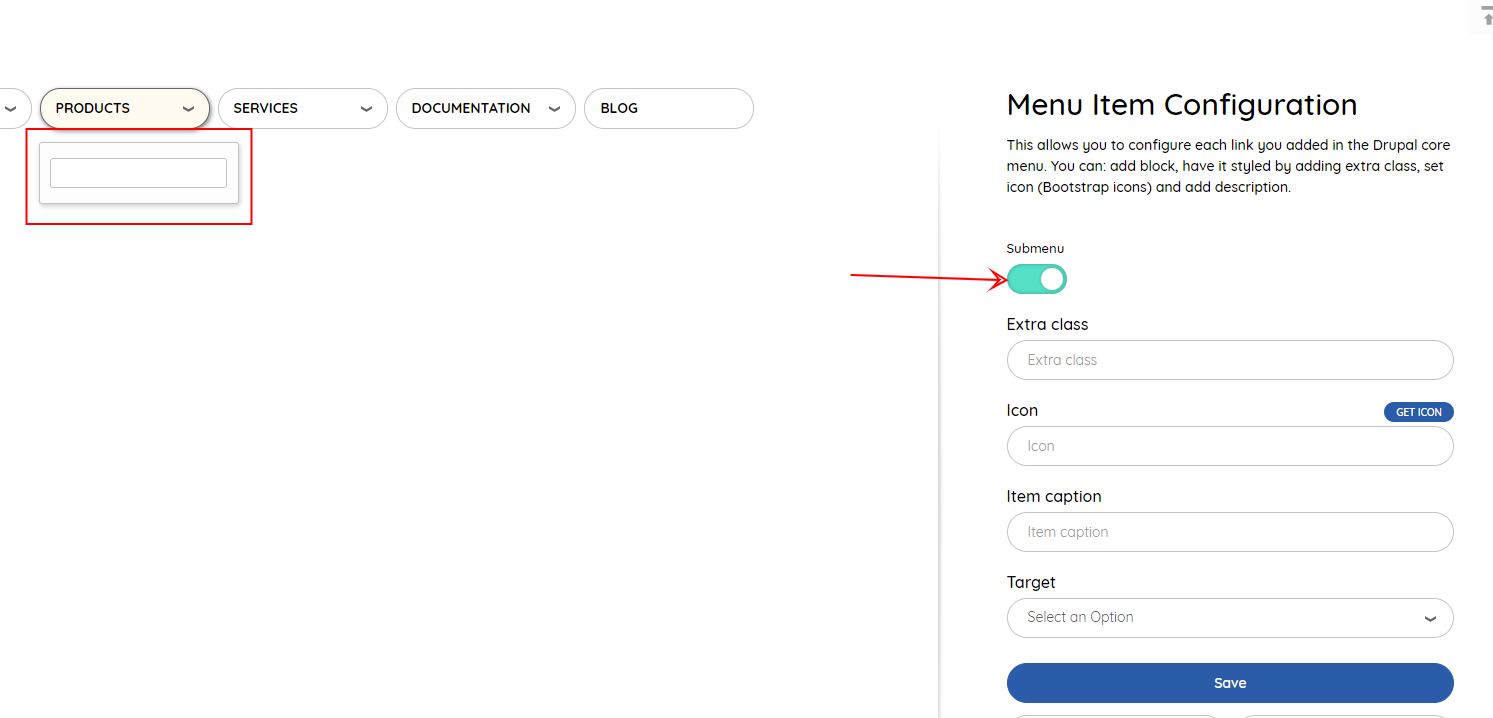
Now a workspace appears under "products", where we’ll add our blocks in a moment. After clicking on this element under "products", another configuration panel appears, but this time it concerns our workspace.
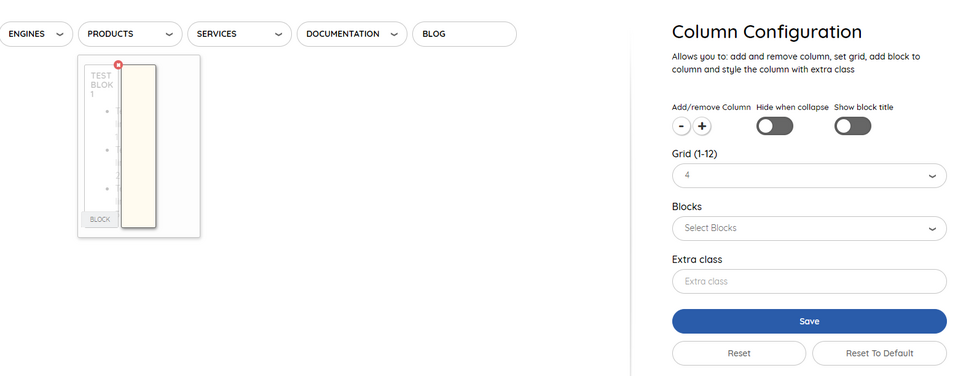
In this panel, we use the plus and minus buttons to set the number of columns in our mega menu. In the Grid field, we set the column’s width, while the Blocks field is used to select the previously added blocks.
After setting the appropriate options, we click Save and our menu should look similar to the one below.

Summary
A mega menu is a good option for presenting to the user an advanced website’s structure or a web application. With the Droopler distribution and the Mega Menu module, we can easily build the advanced pages with a user-friendly navigation which allows us to clearly show the structure of a large website.