Installation and updating of Droopler in a nutshell

Droptica is a Drupal agency. In our work we very often find ourselves building corporate websites on Drupal. Not to reinvent the wheel every time every single time, we created Droopler. Droopler is a state-of-the-art open-source tool for building websites, built on the latest version of Drupal. The system has been designed in order to enable easy and flexible modification of content that looks great on every device. You can find out more at www.droopler.com.
![]()
A demo version of the system is available at https://droopler-demo.droptica.com/
Before you can familiarise yourselves with the possibilities and functionalities offered by Droopler, I will guide you through the set-up process.
Technical requirements
Several technical requirements have to be fulfilled before set-up can begin. The following stack is required to set-up Droopler:
- Apache (or another web server),
- SQLite, MySQL, MariaDB, Postgresql or another database;
- PHP 7.
Most shared hosting providers (sharehost) offer such a stack. Before starting the set-up process, it is worth checking whether PHP version is set to 7.
Setting up Droopler
The following set-up process is intended for users who do not have root access to the operating system (shared hosting, etc.).
Step 1 – Downloading files to the server
The following steps should be executed in the directory to which the domain is pointed (DocumentRoot).

Method 1
This method can be used if your hosting provider provides a connection to the server via SSH.
Important:before you use this method to set-up Droopler, make sure that commands such as
composer --help
npm help
gulp -version
are available. If executing the above commands does not return any “command not found” messages or other errors, you can carry on. Otherwise, go straight to method 2 :-)
In this method, you just need to execute the commands listed below to download the necessary files:
git clone -b no_web https://github.com/droptica/droopler_project
cd droopler_project
composer install
composer drupal-scaffold
composer install
At this point, you just have to compile SCSS files to CSS. In order to do so, simply follow the instructions below:
cd web/themes/custom/droopler_subtheme
npm install
npm install --global gulp-cli
gulp compile
Method 2
1. Download the turnkey package from https://www.droopler.com/download
2. Unpack the downloaded package and upload it to the server via FTP.
Step 2 - setting up Droopler
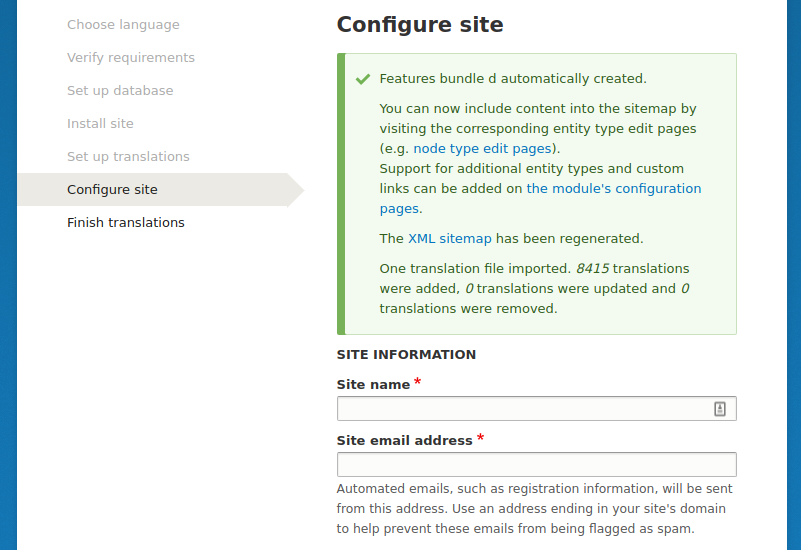
Launch your browser and enter the address. You will be automatically redirected to the Droopler set-up wizard. Follow the instructions of the wizard to complete the set-up process.


Setting up Droopler in Docker using the dcon tool
Important: Root access to the operating system is required to perform the steps listed below.
Install the dcon tool, according to the instructions at https://github.com/droptica/docker-console, and run an https://github.com/droptica/nginx-proxy container.
We wrote more about running dcon and nginx-proxy in one of our previous articles.
In order to run Docker containers on which Droopler will operate, you need a docker-compose.yml file. You can download a sample wrapper, where you will find the required files.
git clone https://github.com/DropticaExamples/droopler-wrapper-example.git
Change the VIRTUAL_HOST parameter to the domain address of your own page in the downloaded docker-compose.yml file. When you publish your website online, it is also worth removing or commenting out the phpmyadmin container for security reasons.
Now, you need to download the Droopler repository to the /app directory – execute the following command in the directory to which you downloaded the repository (wrapper) beforehand:
git clone https://github.com/droptica/droopler_project app
To build and launch the docker containers, execute the following commands in the console:
dcon update-images
dcon up
All that you have to do is to launch the installation of a Droopler profile:
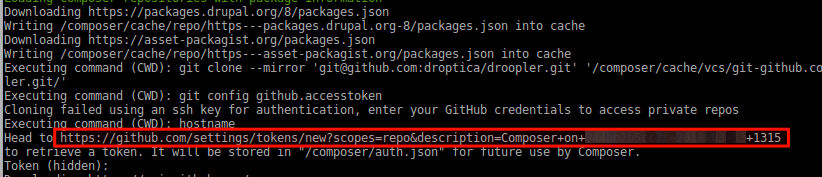
dcon build-profile
You will be asked to enter a GitHub token. Copy the link and load the page, a token will be generated, which you need to copy to the console and confirm by pressing enter.
After carrying out multiple operations, Droopler will be ready for the first launch. Start the browser and enter the address of your page.
Updating
Droopler is constantly developed and expanded with new functionalities. In order to develop these features on your website, you should make sure to update the system on a regular basis. Updates also include security patches.
IMPORTANT! We strongly suggest making a back-up of your files and database, as well as enabling maintenance downtime – example.com/admin/config/development/maintenance – before updating Droopler.
You can update Droopler in one of two ways:
Method 1
If you set-up Droopler by downloading the codebase from the https://github.com/droptica/droopler_project repository, this method is intended for you :)
Connect to the server via SSH and execute git pull command in the directory, where you downloaded the repository beforehand.
The next step depends on whether you have installed the dcon tool or not. If dcon is available, execute the following command:
dcon compose-updateHowever, if you do not have dcon installed, you will need to execute:
composer update
Method 2
Download a new build from https://www.droopler.com/download
The downloaded package needs to be unpacked and uploaded to the server via FTP, overwriting the existing files on the server.
Launch your browser and go to www.example.com/update.php
Conclusion
Congratulations! You just learned several ways to set-up and update Droopler, a Drupal distribution. As you can see, this is really easy :-) However, if you stumble upon any issues that you can’t solve on your own, leave us a message. We’ll be glad to help you!