
Creating a Contact Page in Droopler. A Detailed Guide

Droopler is a versatile tool for building Drupal websites. In the following post, I’ll show you how to create a contact page on your company website. Our goal will be to make a site that looks like the one in the Droopler demo.
What should a good contact page contain?
The main task of the contact page is to provide the user with information on how to contact the company. From the perspective of user experience, it’s important to maintain readability and a clear content layout. To make it easier for the user to send messages, we can use a contact form. Thanks to it, the user won’t have to leave the browser window to send an email.
1. Adding a new page in Droopler
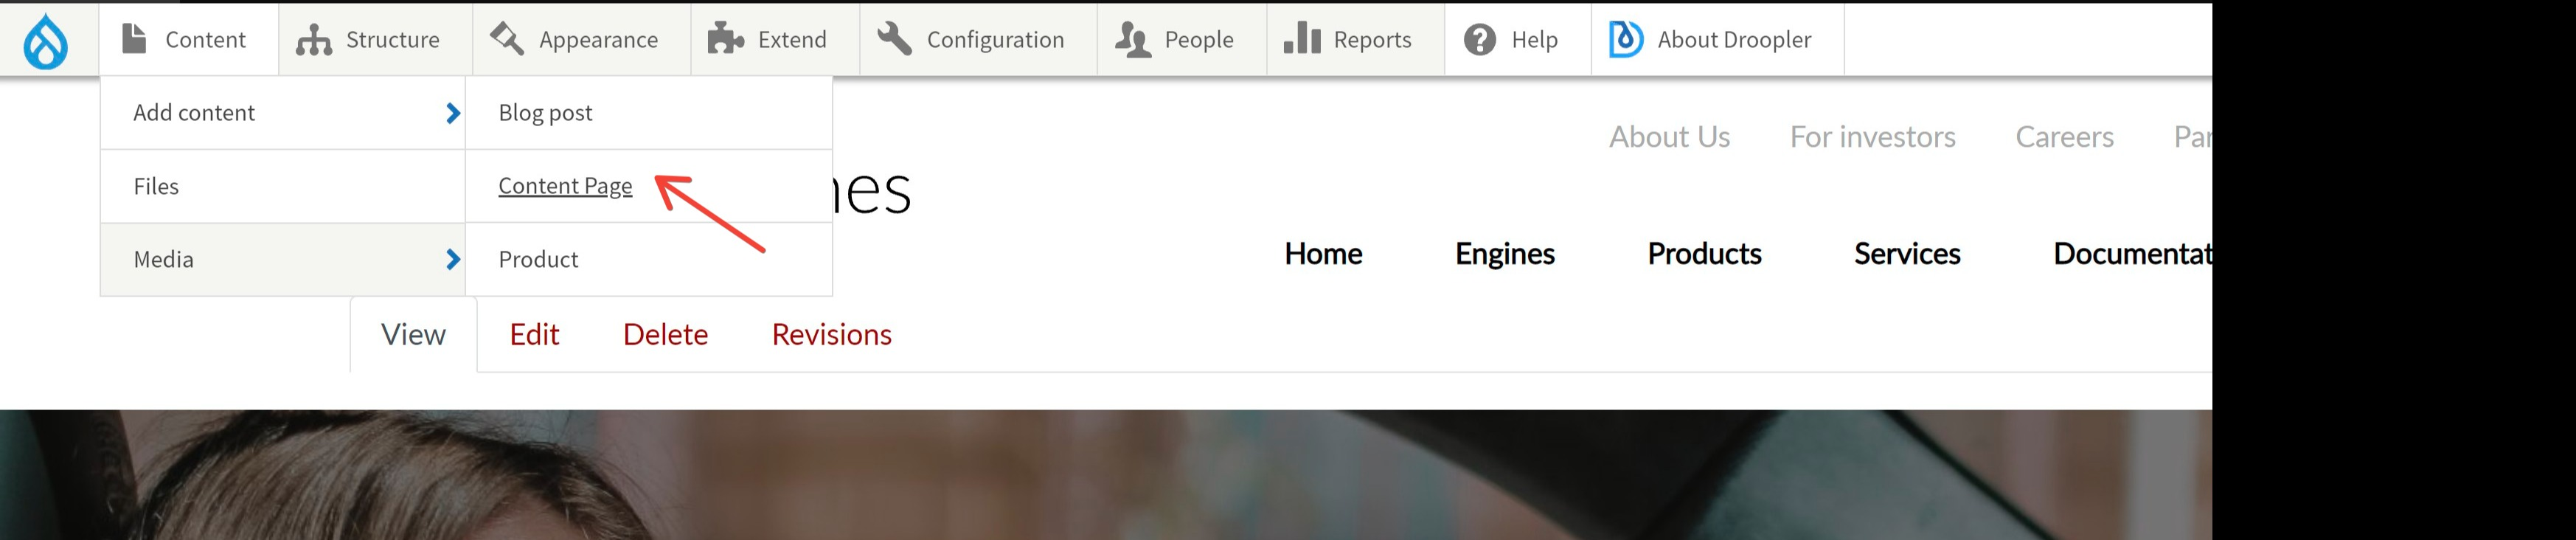
The first step is to create a new subpage Contact. To do this, after logging into our website, we click Content > Add content > Content Page.
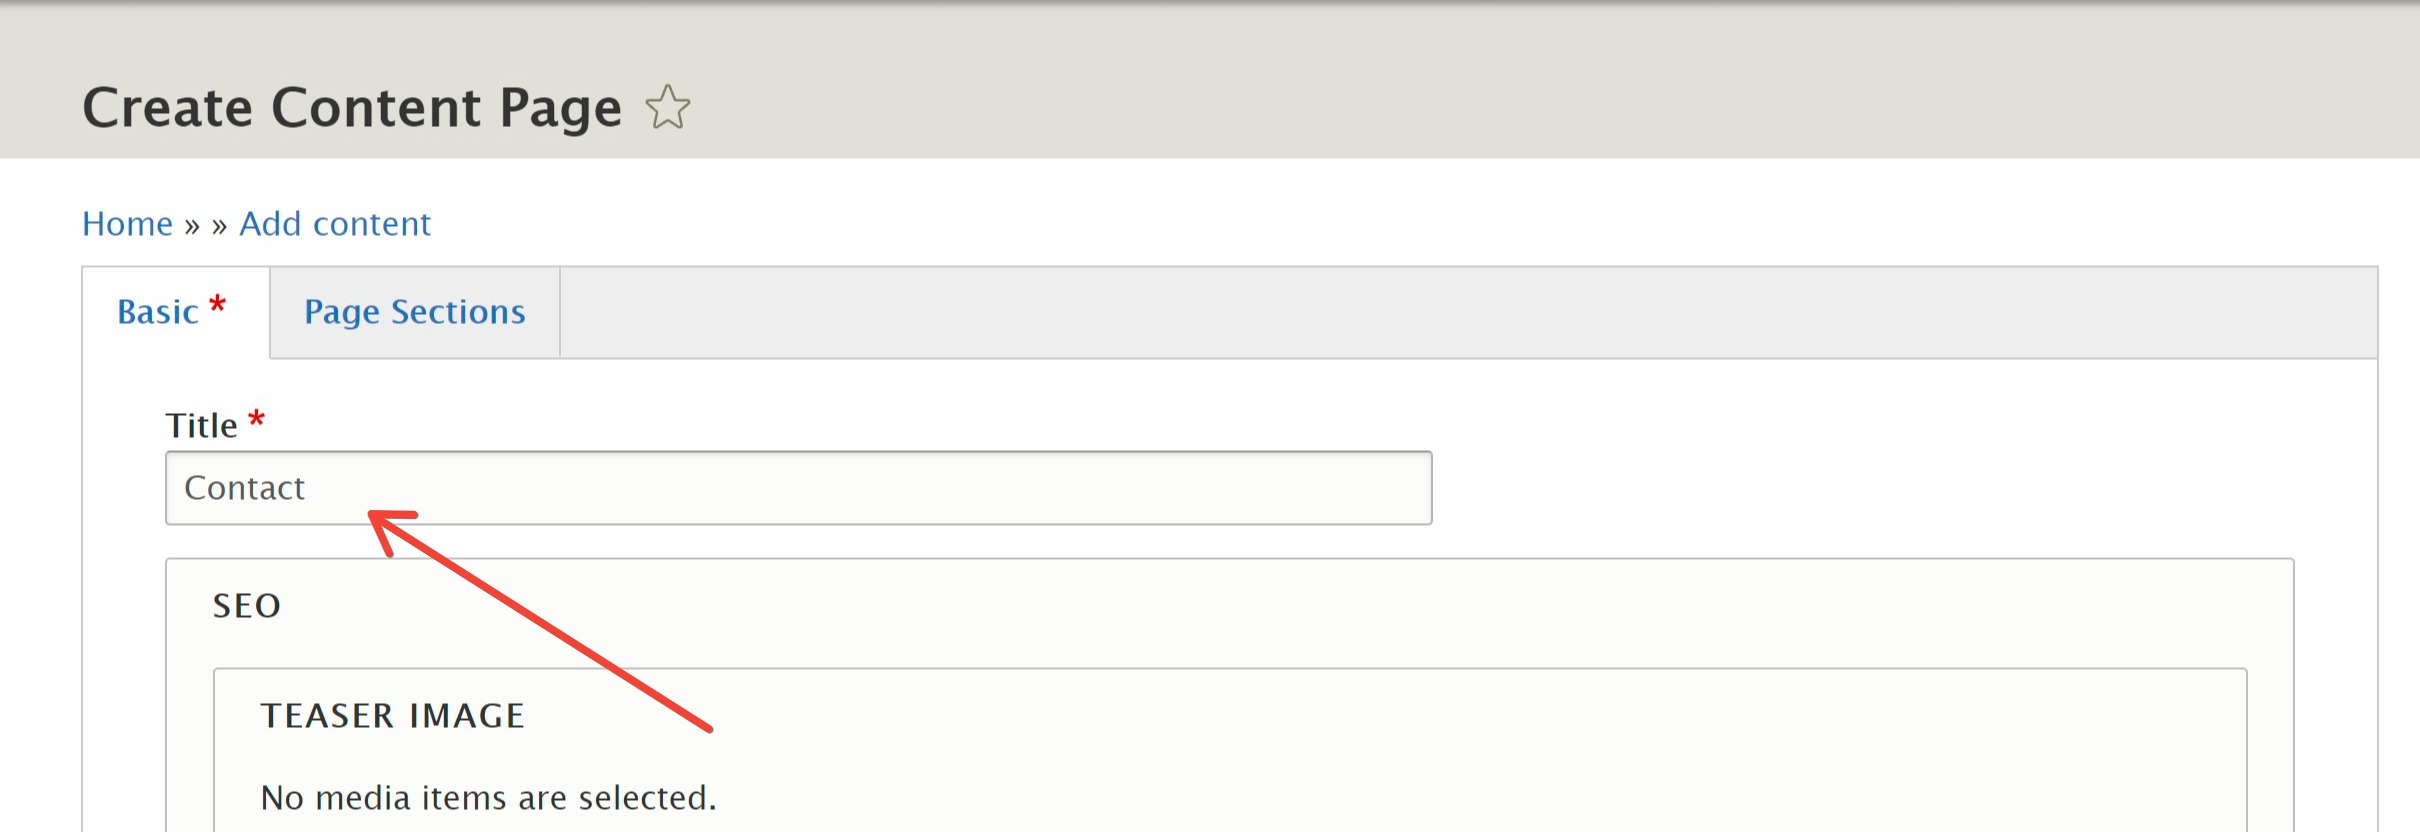
In the window that appears, type the name of the page. In our case, it will be Contact.
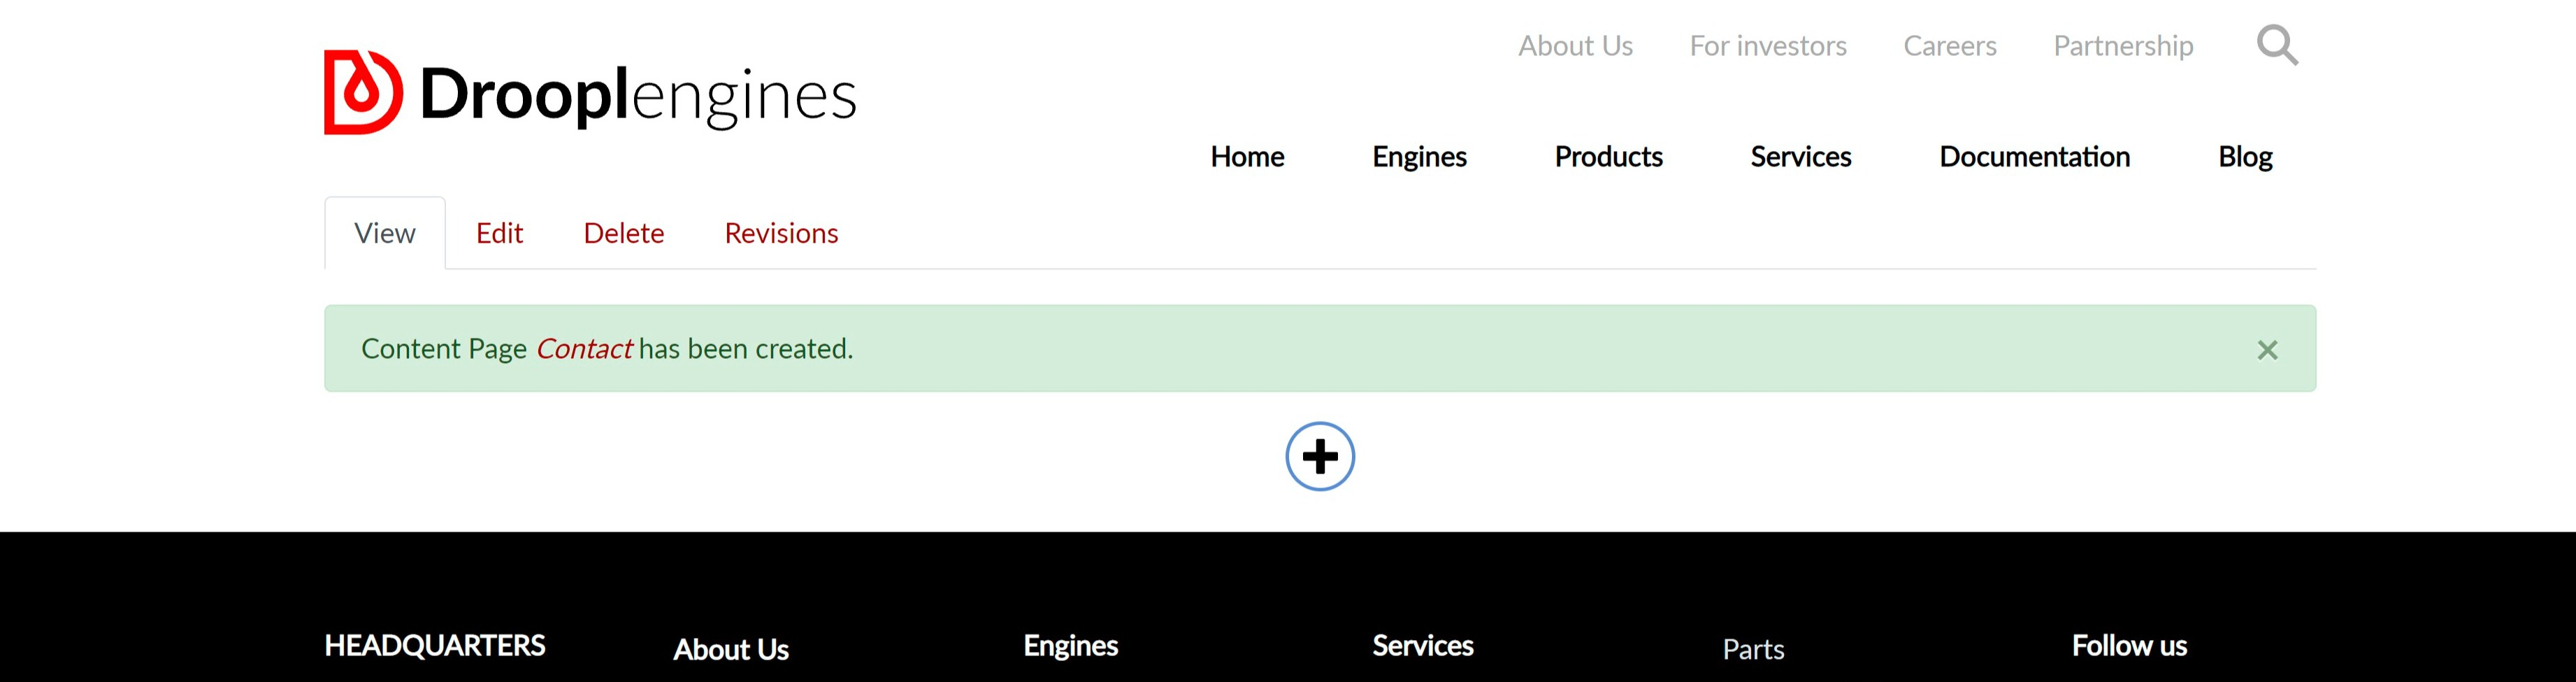
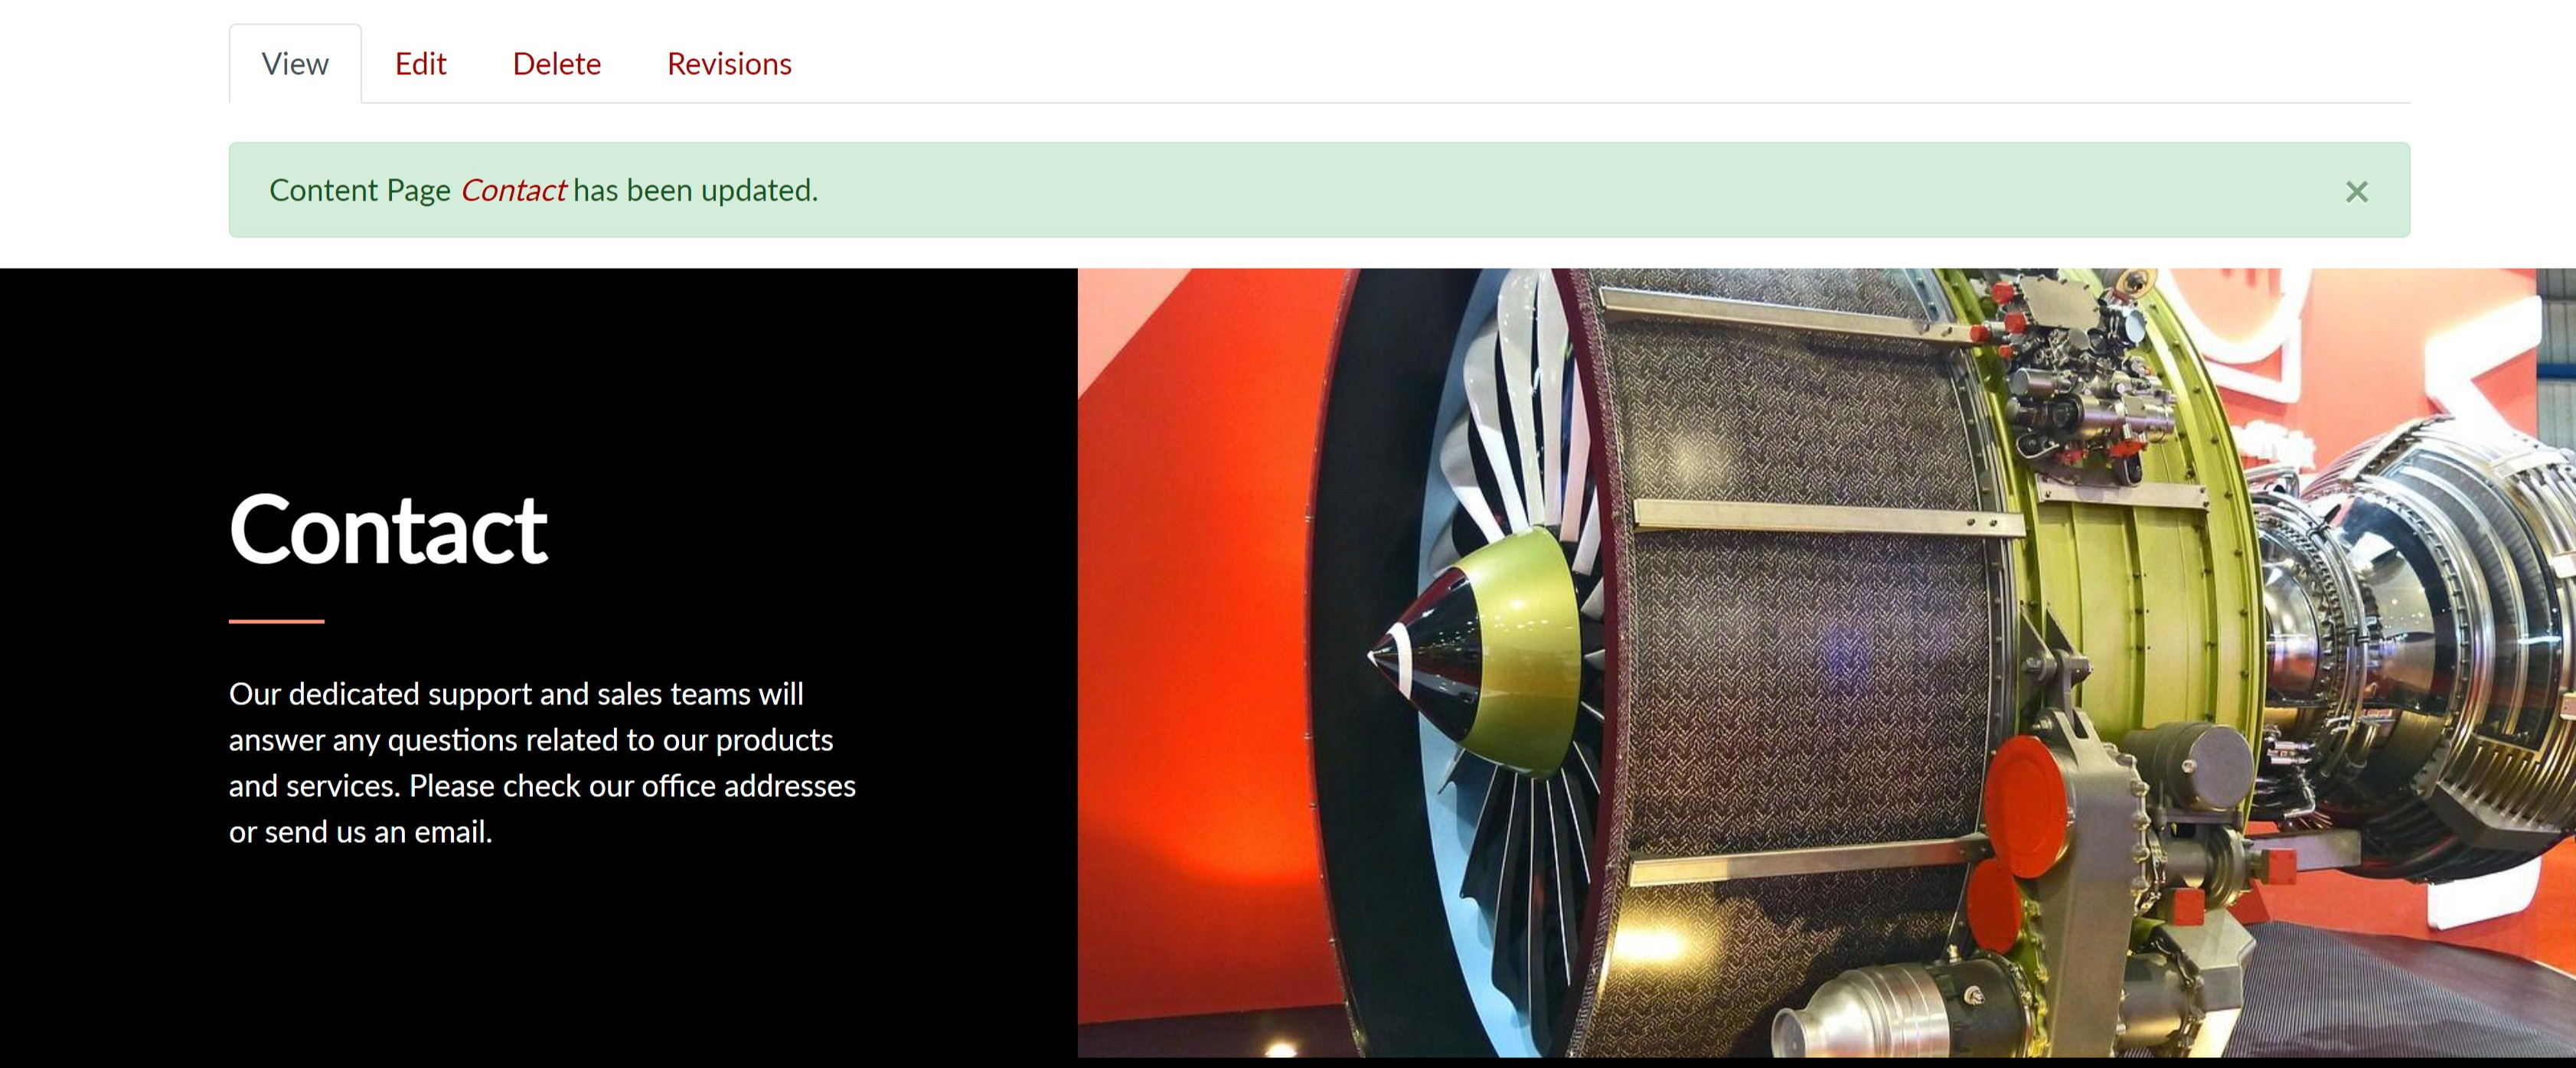
We click Save at the bottom of the page, and we’ll see the window presented below. We created a new contact page!
2. Filling the page with content
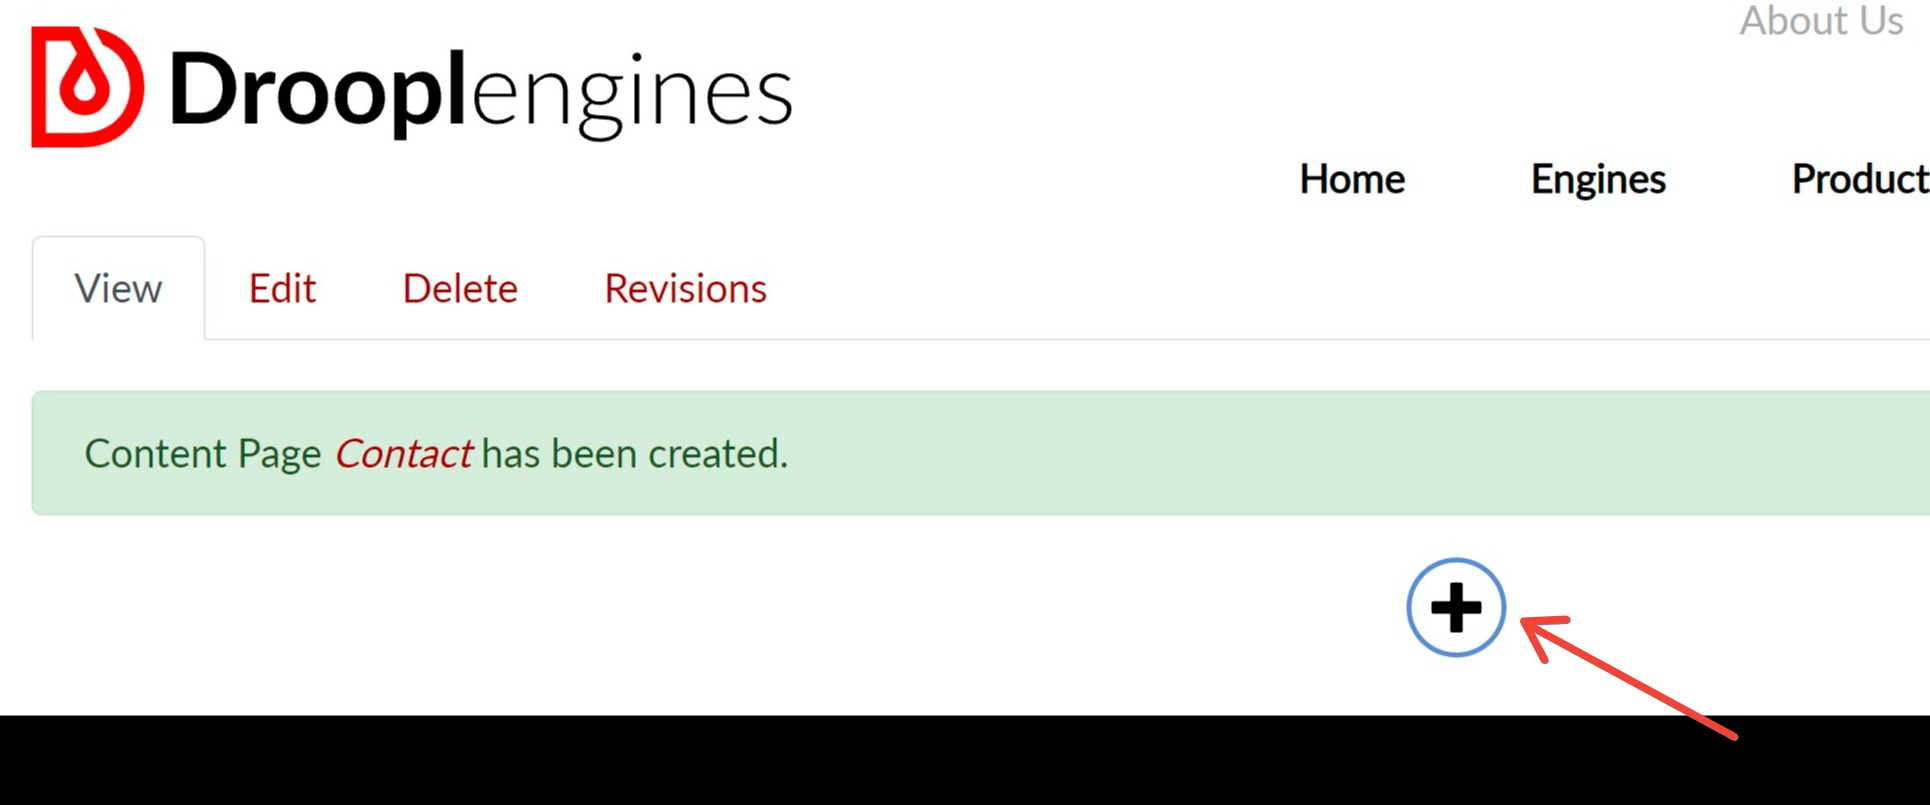
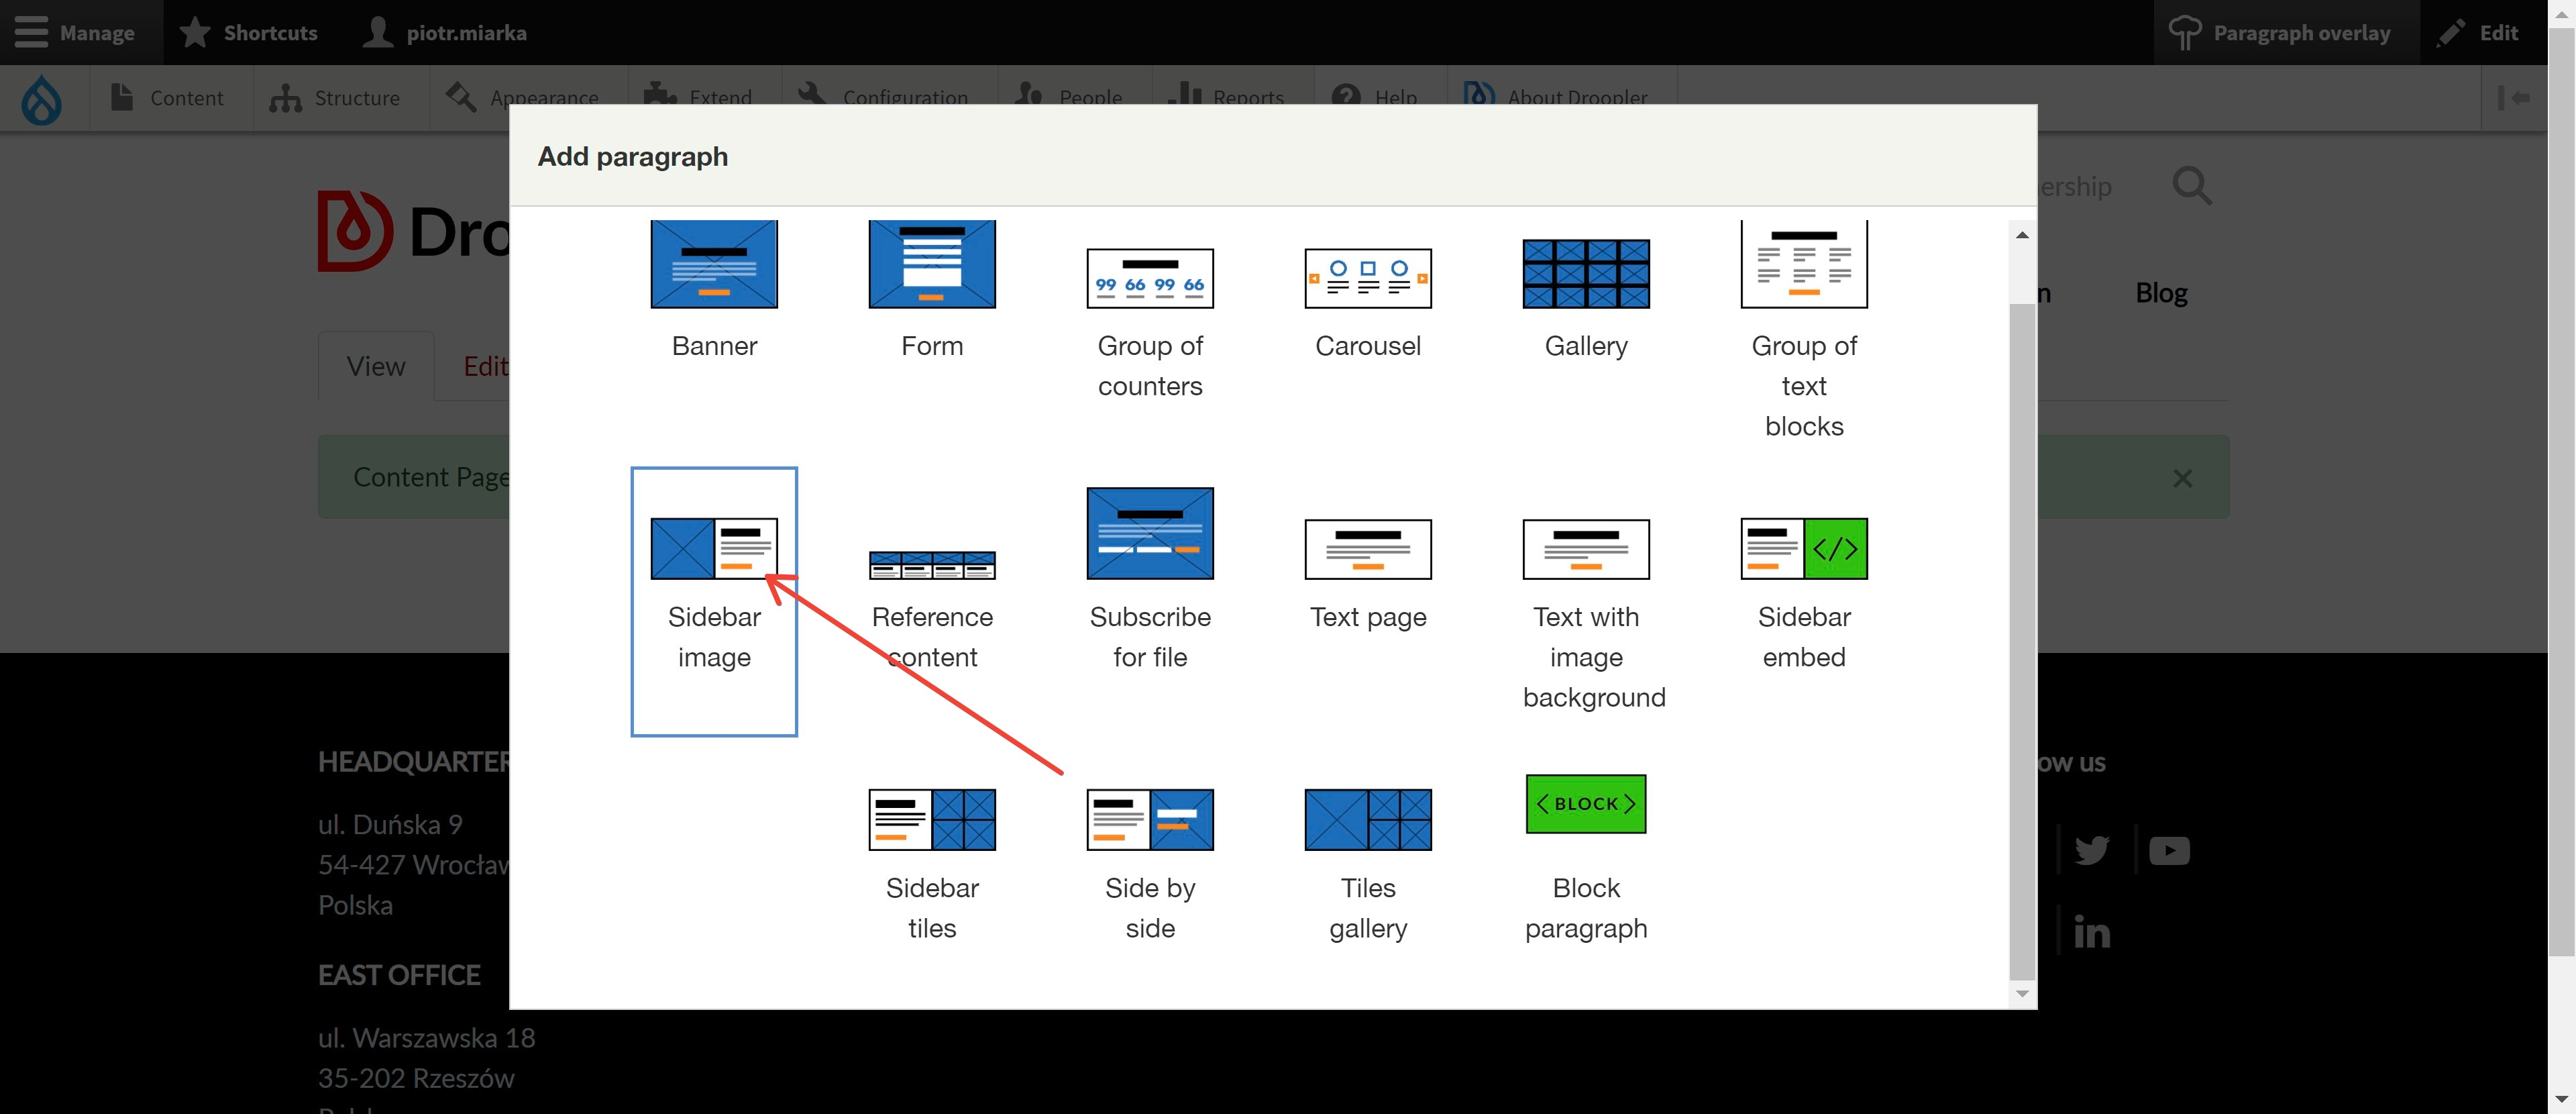
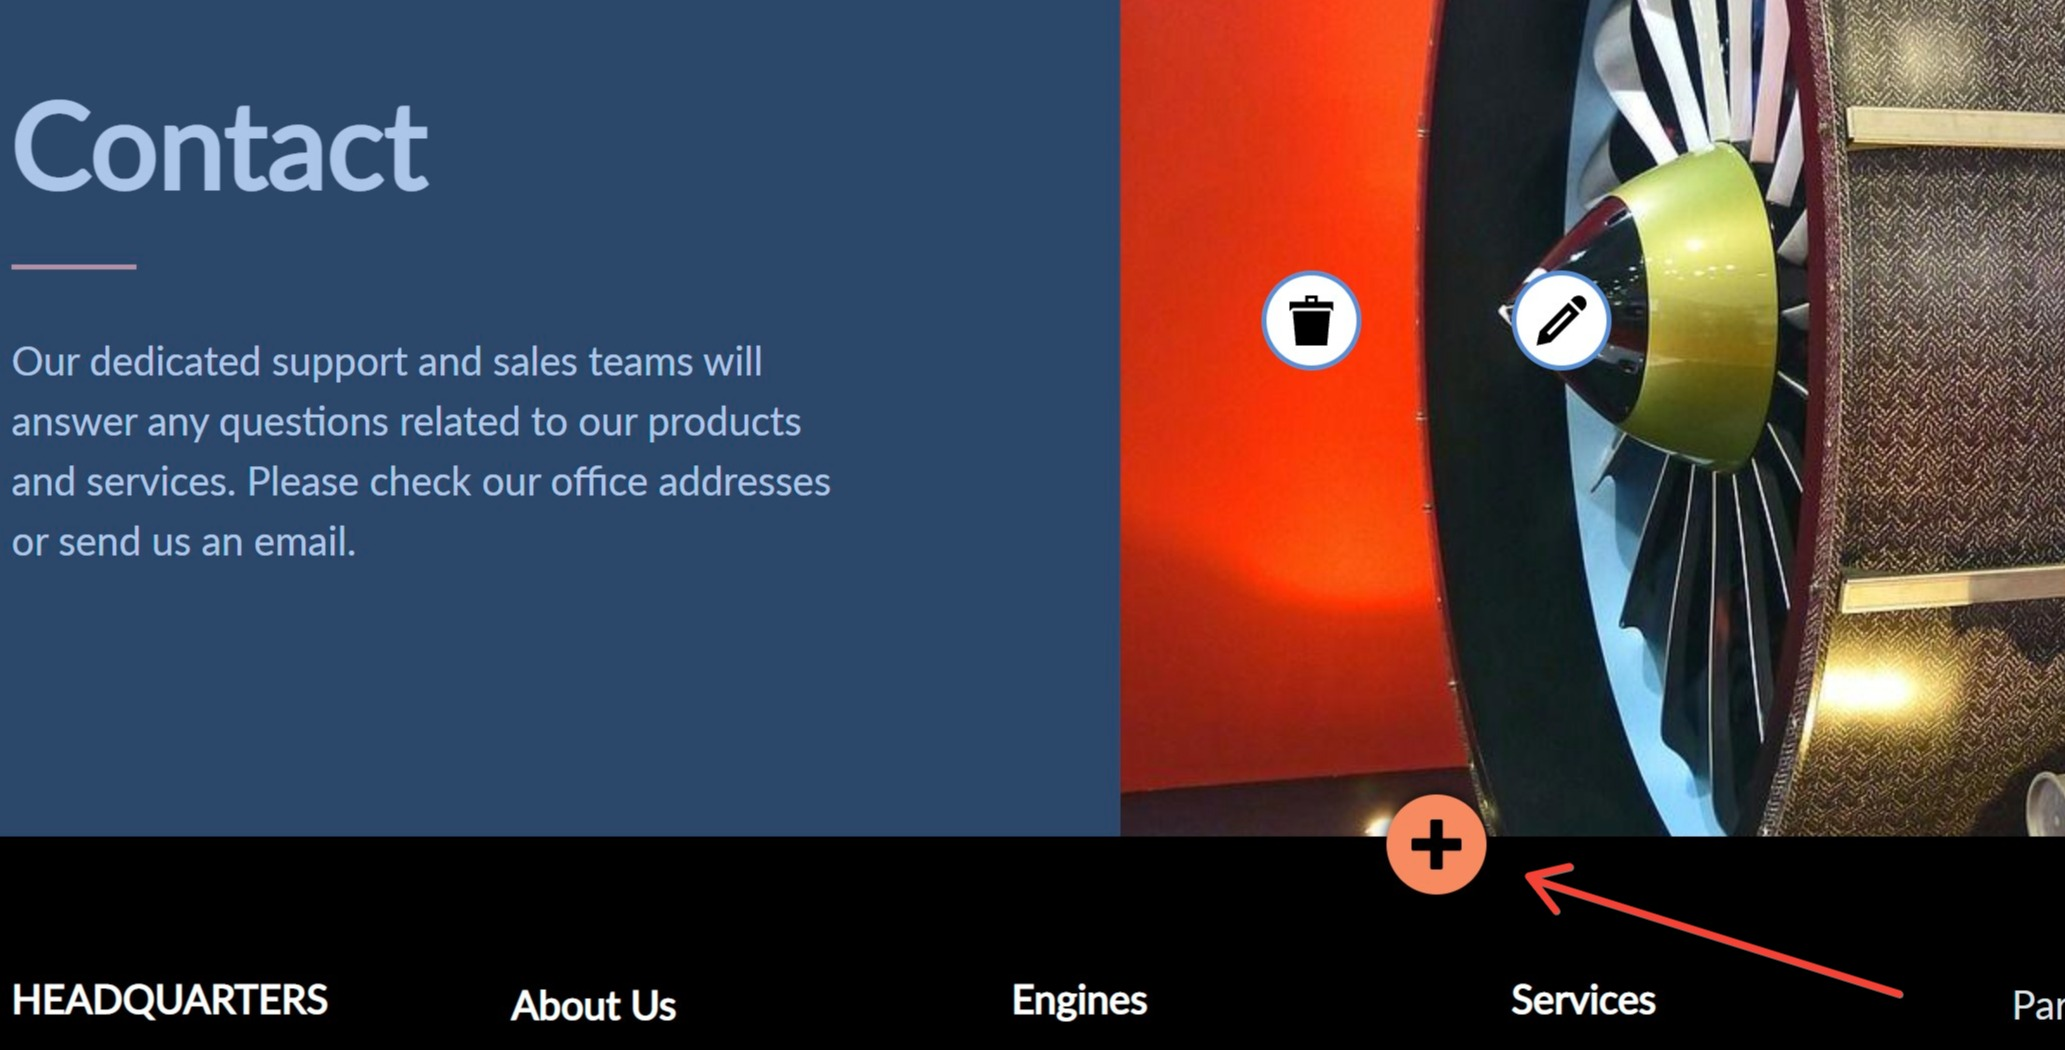
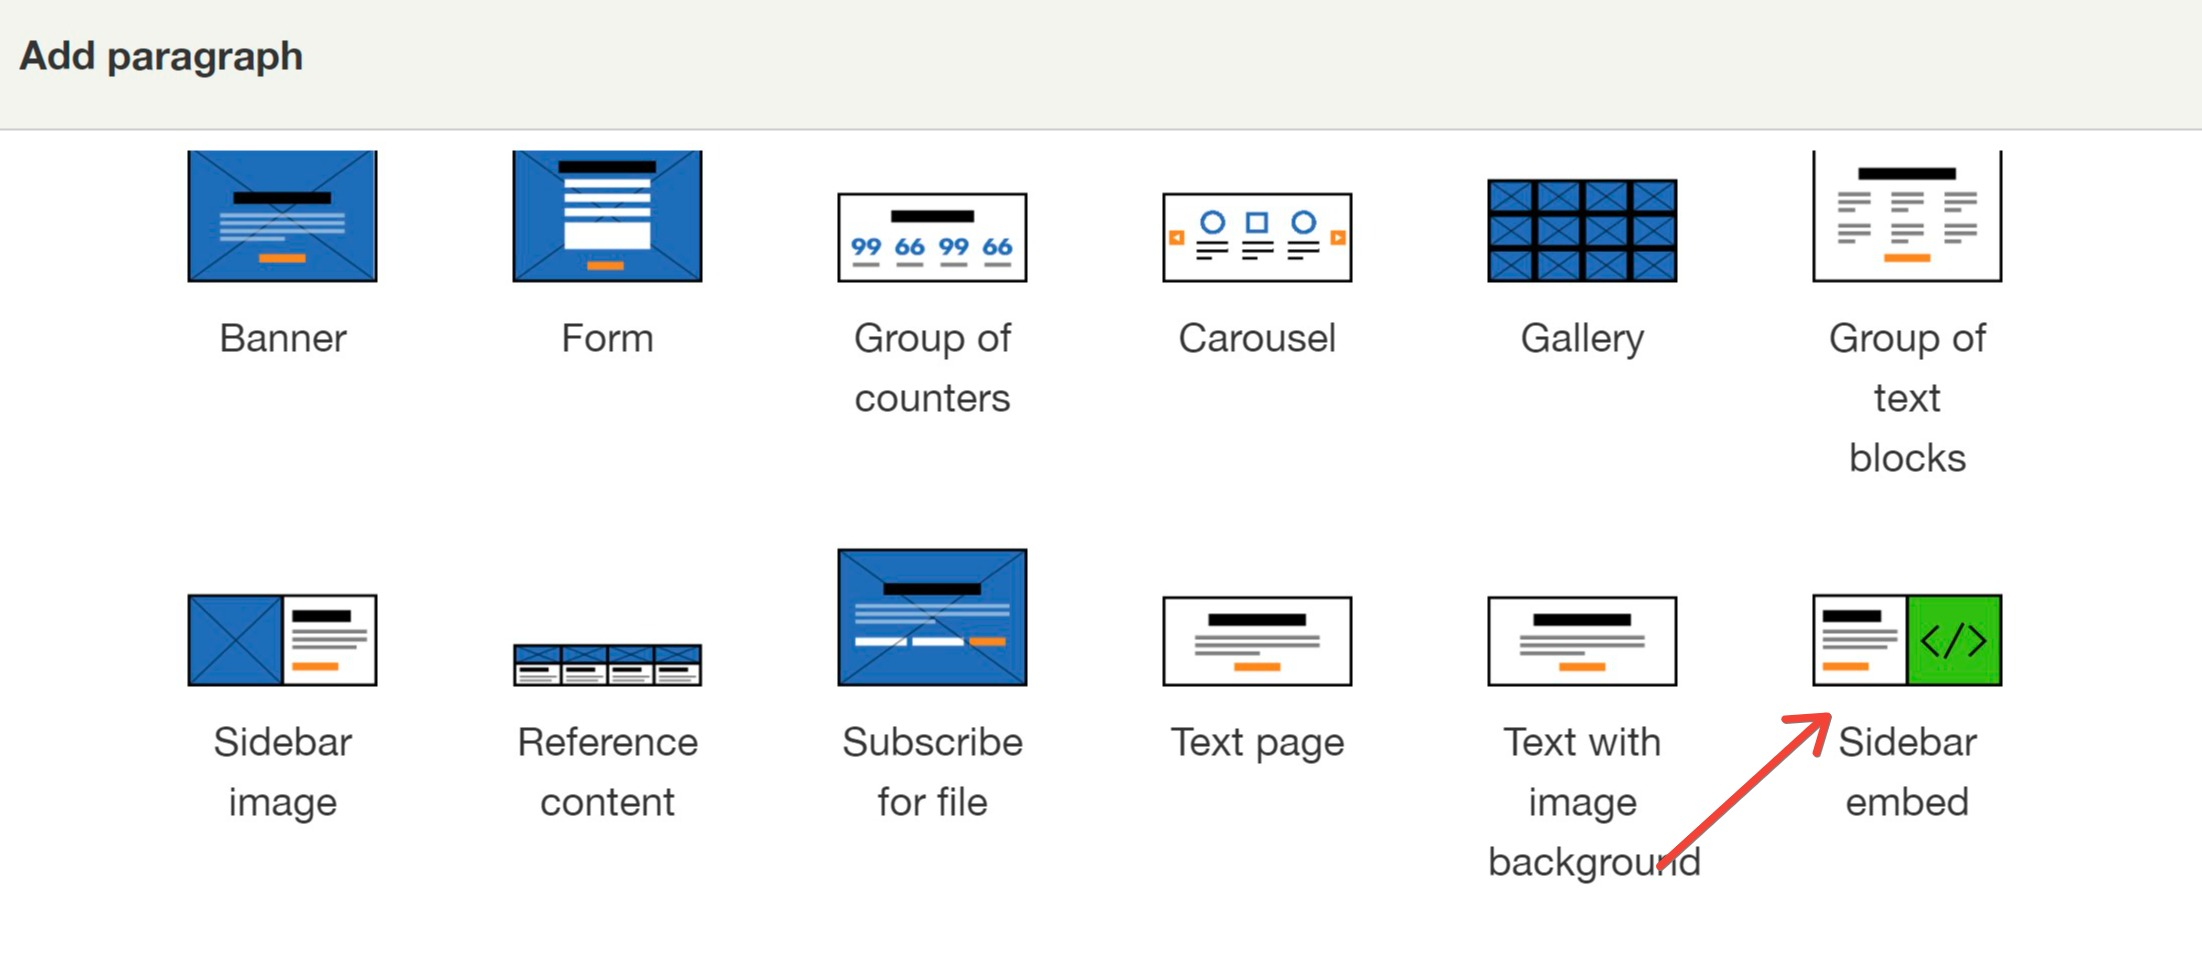
Using the plus button, we go to the window with a selection of available paragraphs - the components from which we build subpages. In this window, we select the Sidebar image. This element will allow us to create a top of the page with a heading.
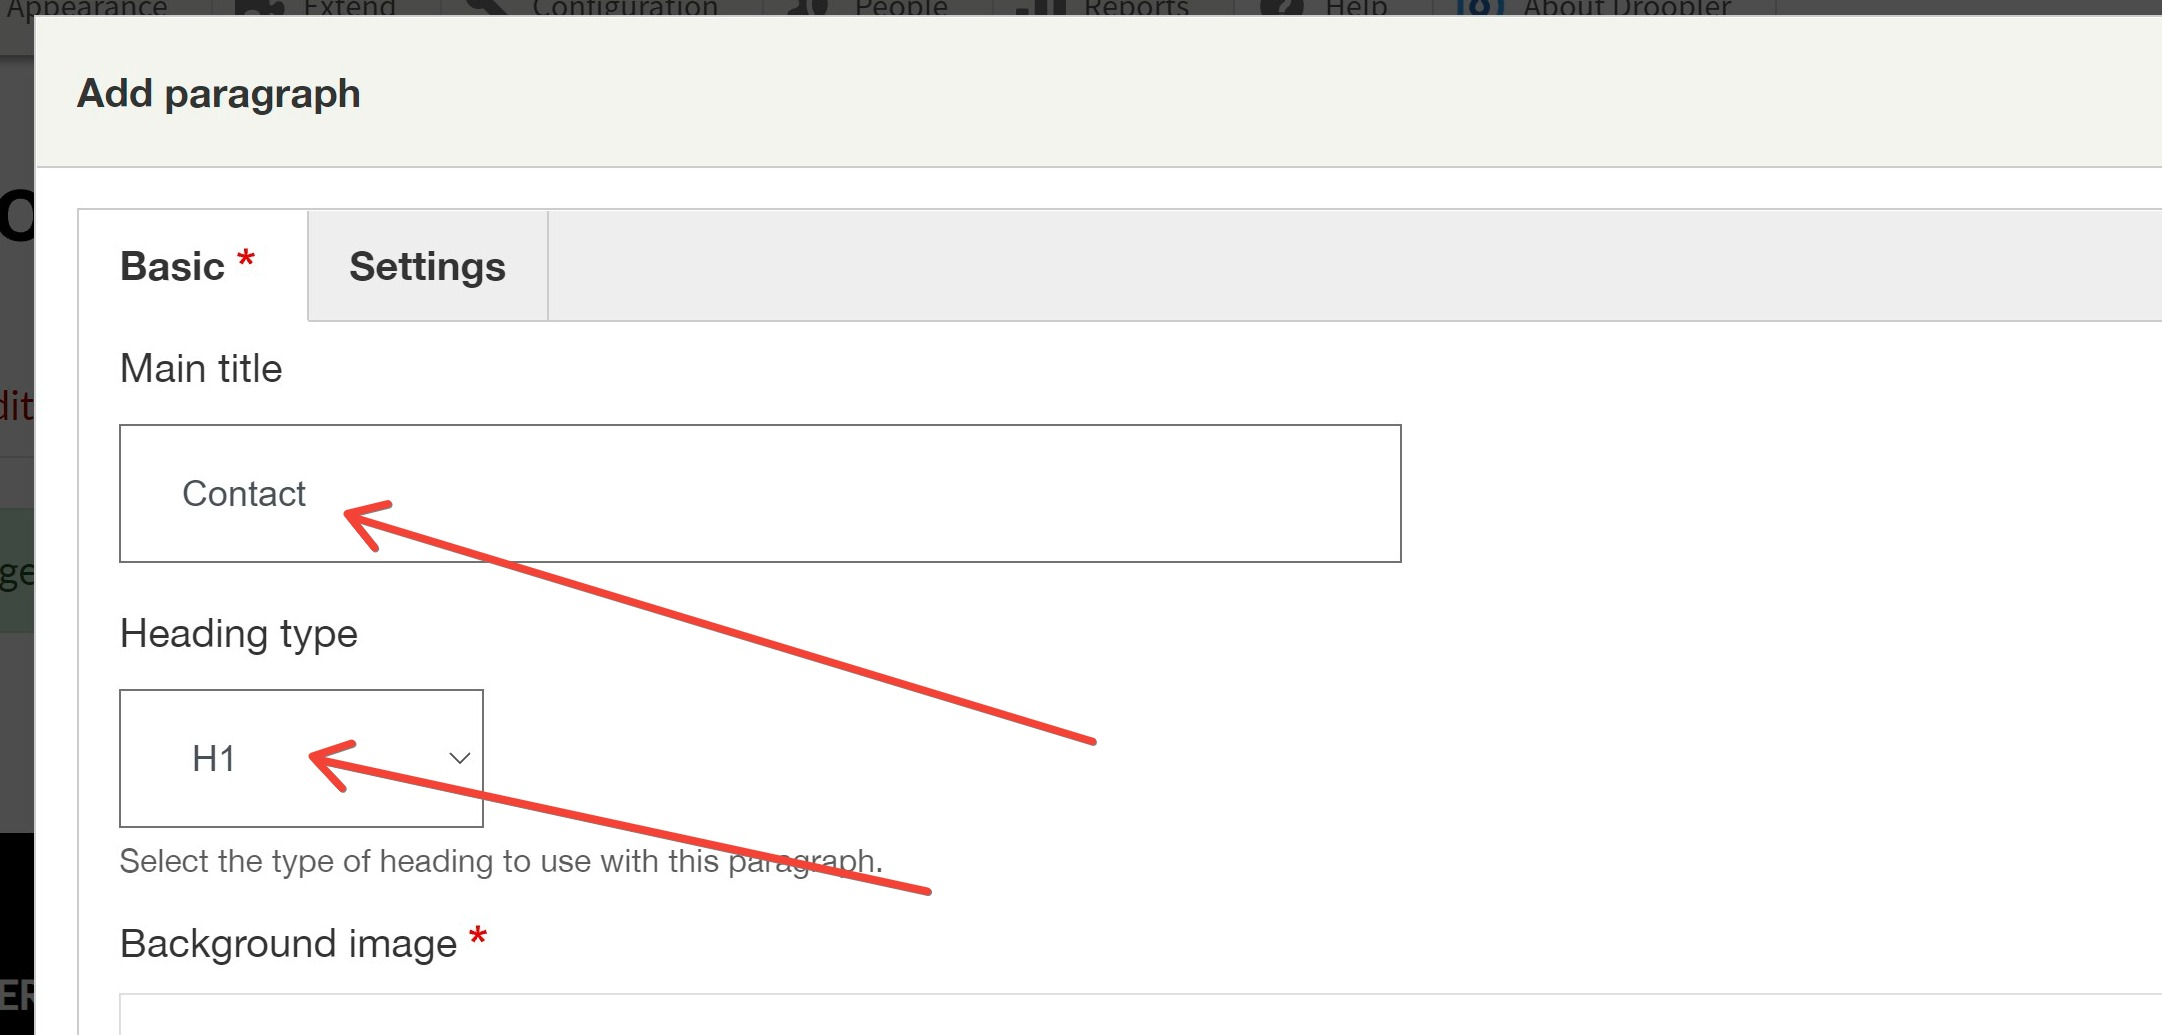
After clicking, we see the view where we fill in data such as heading and heading type.
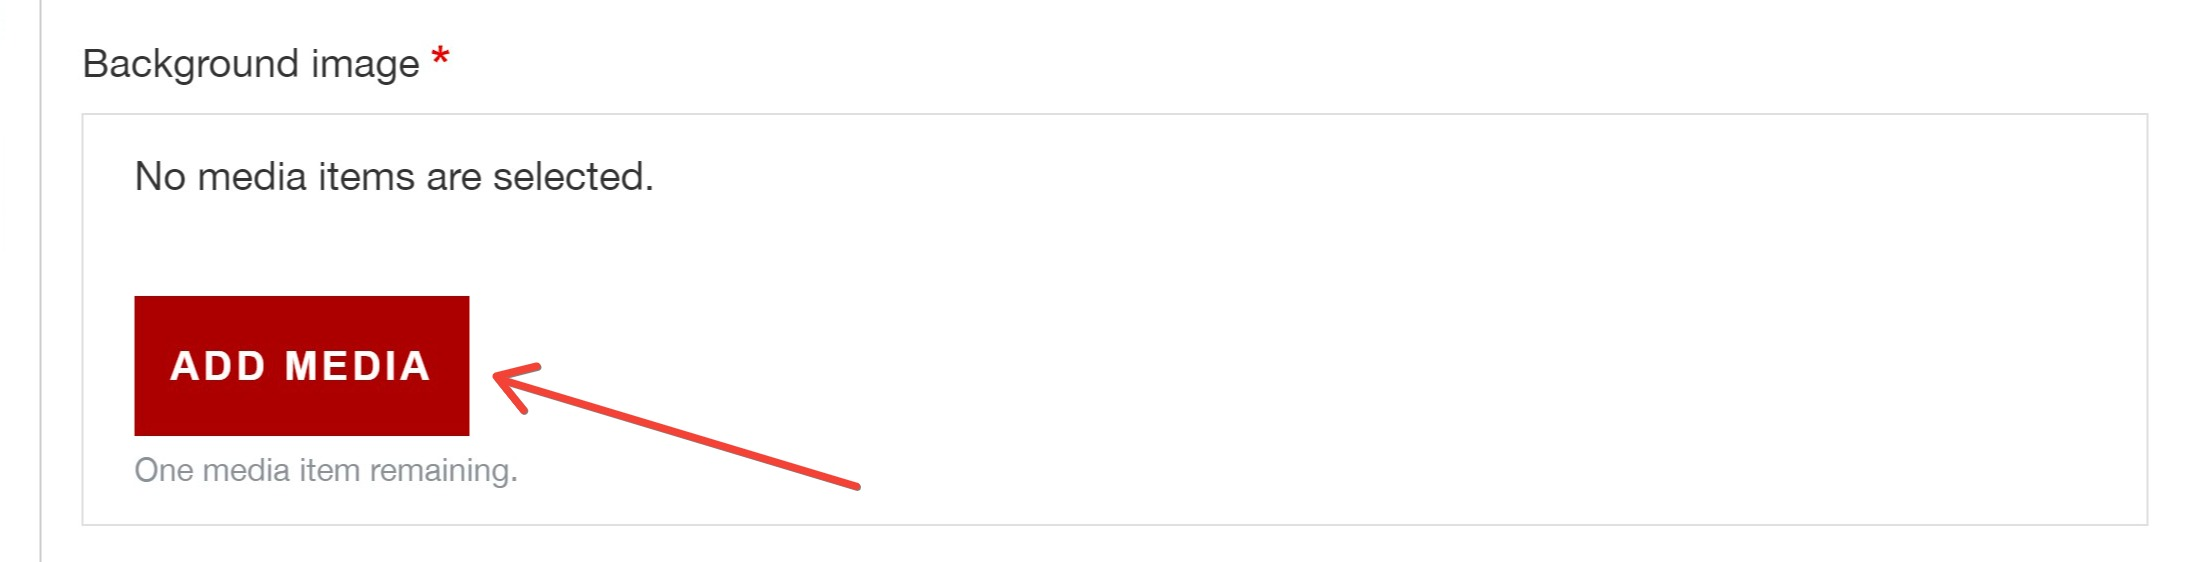
The next step in filling out the Sidebar image paragraph is to select an image.
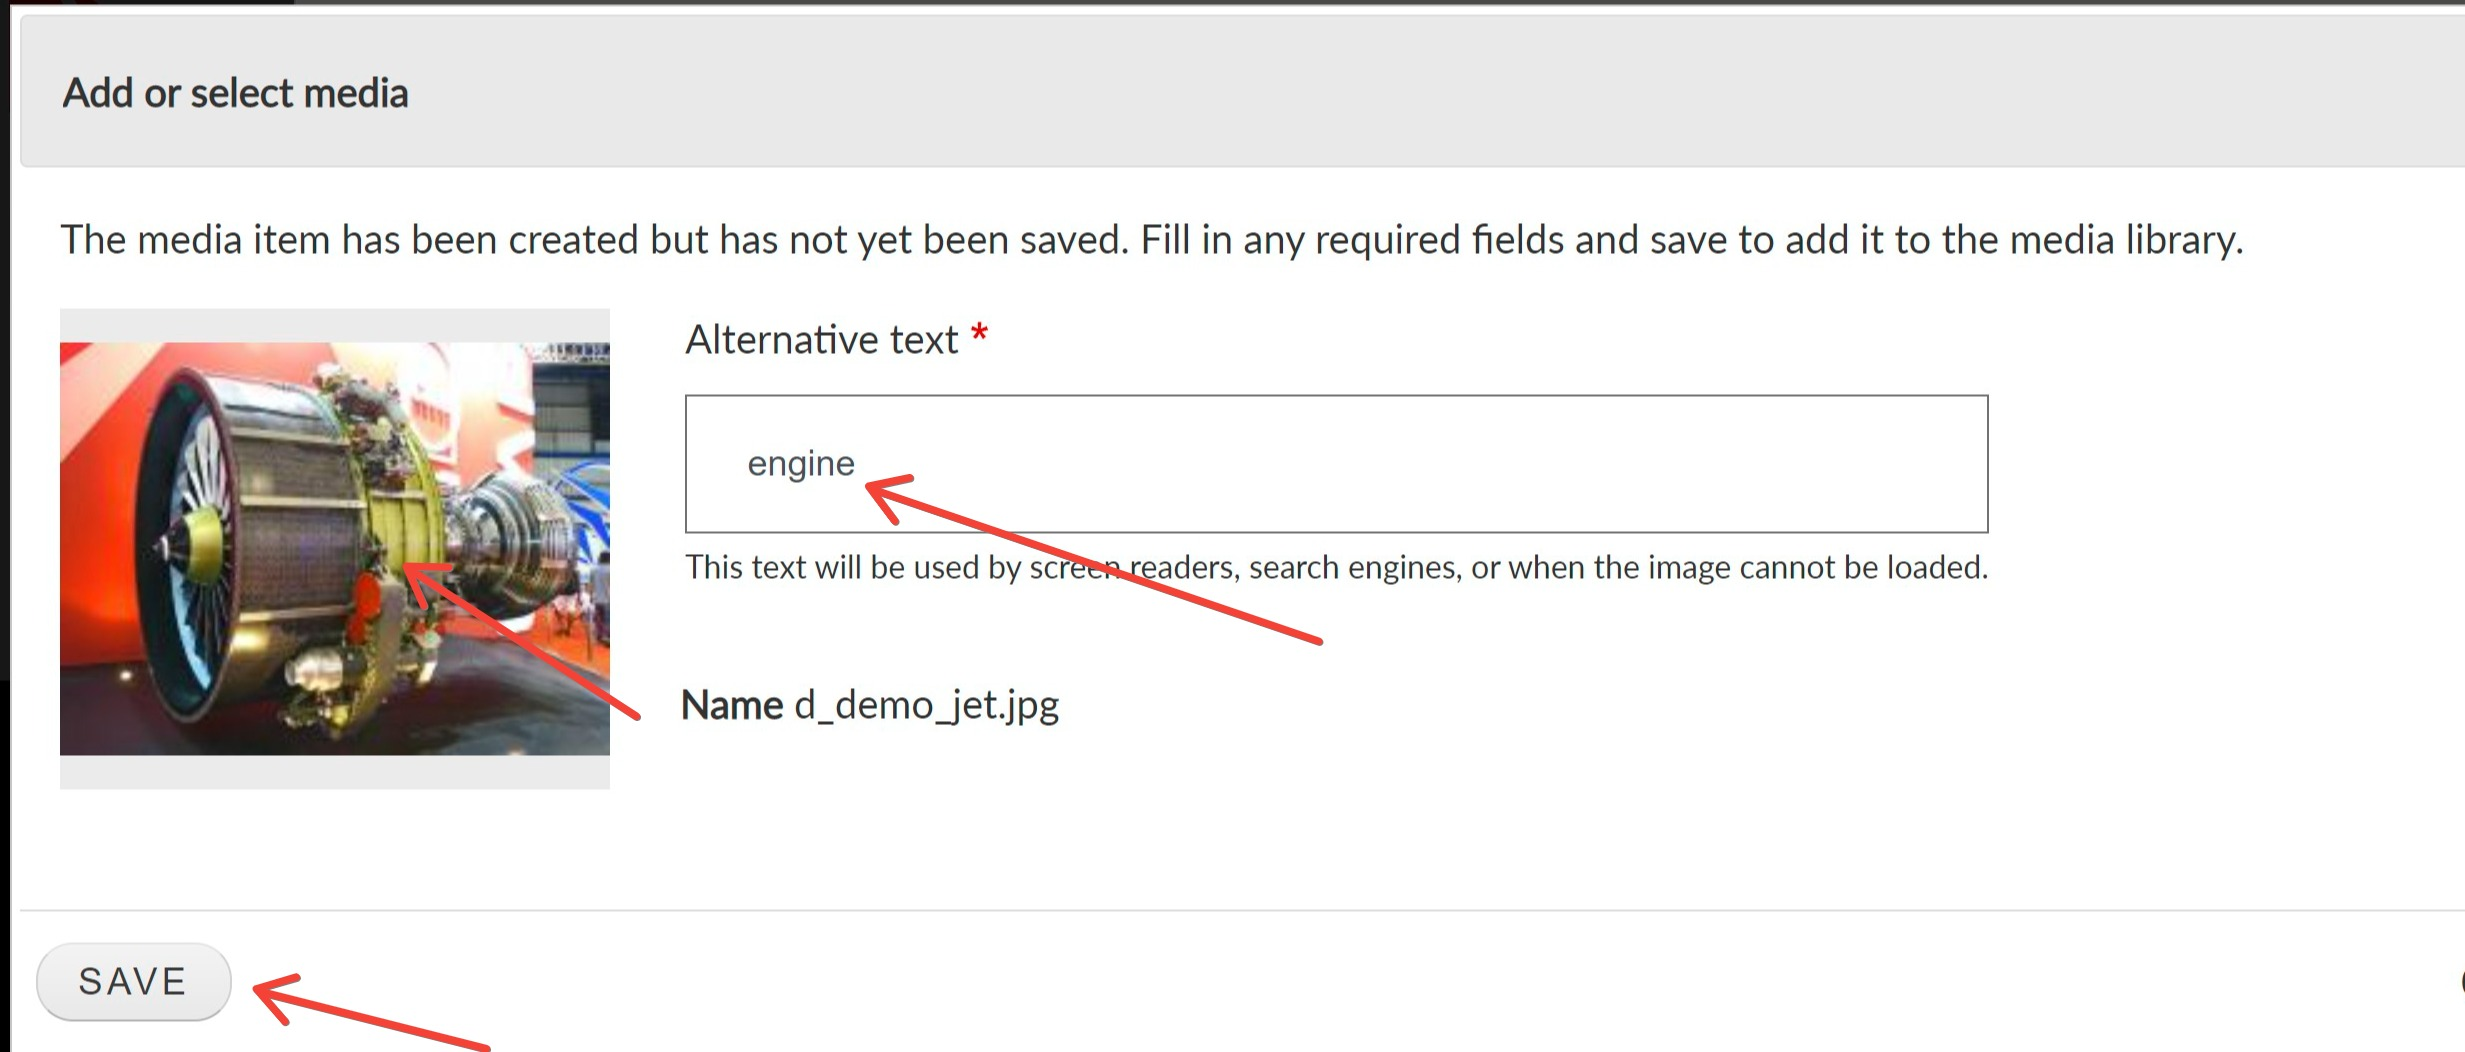
We select the file, enter the alternative text and click Save, and in the next window we click Insert selected.
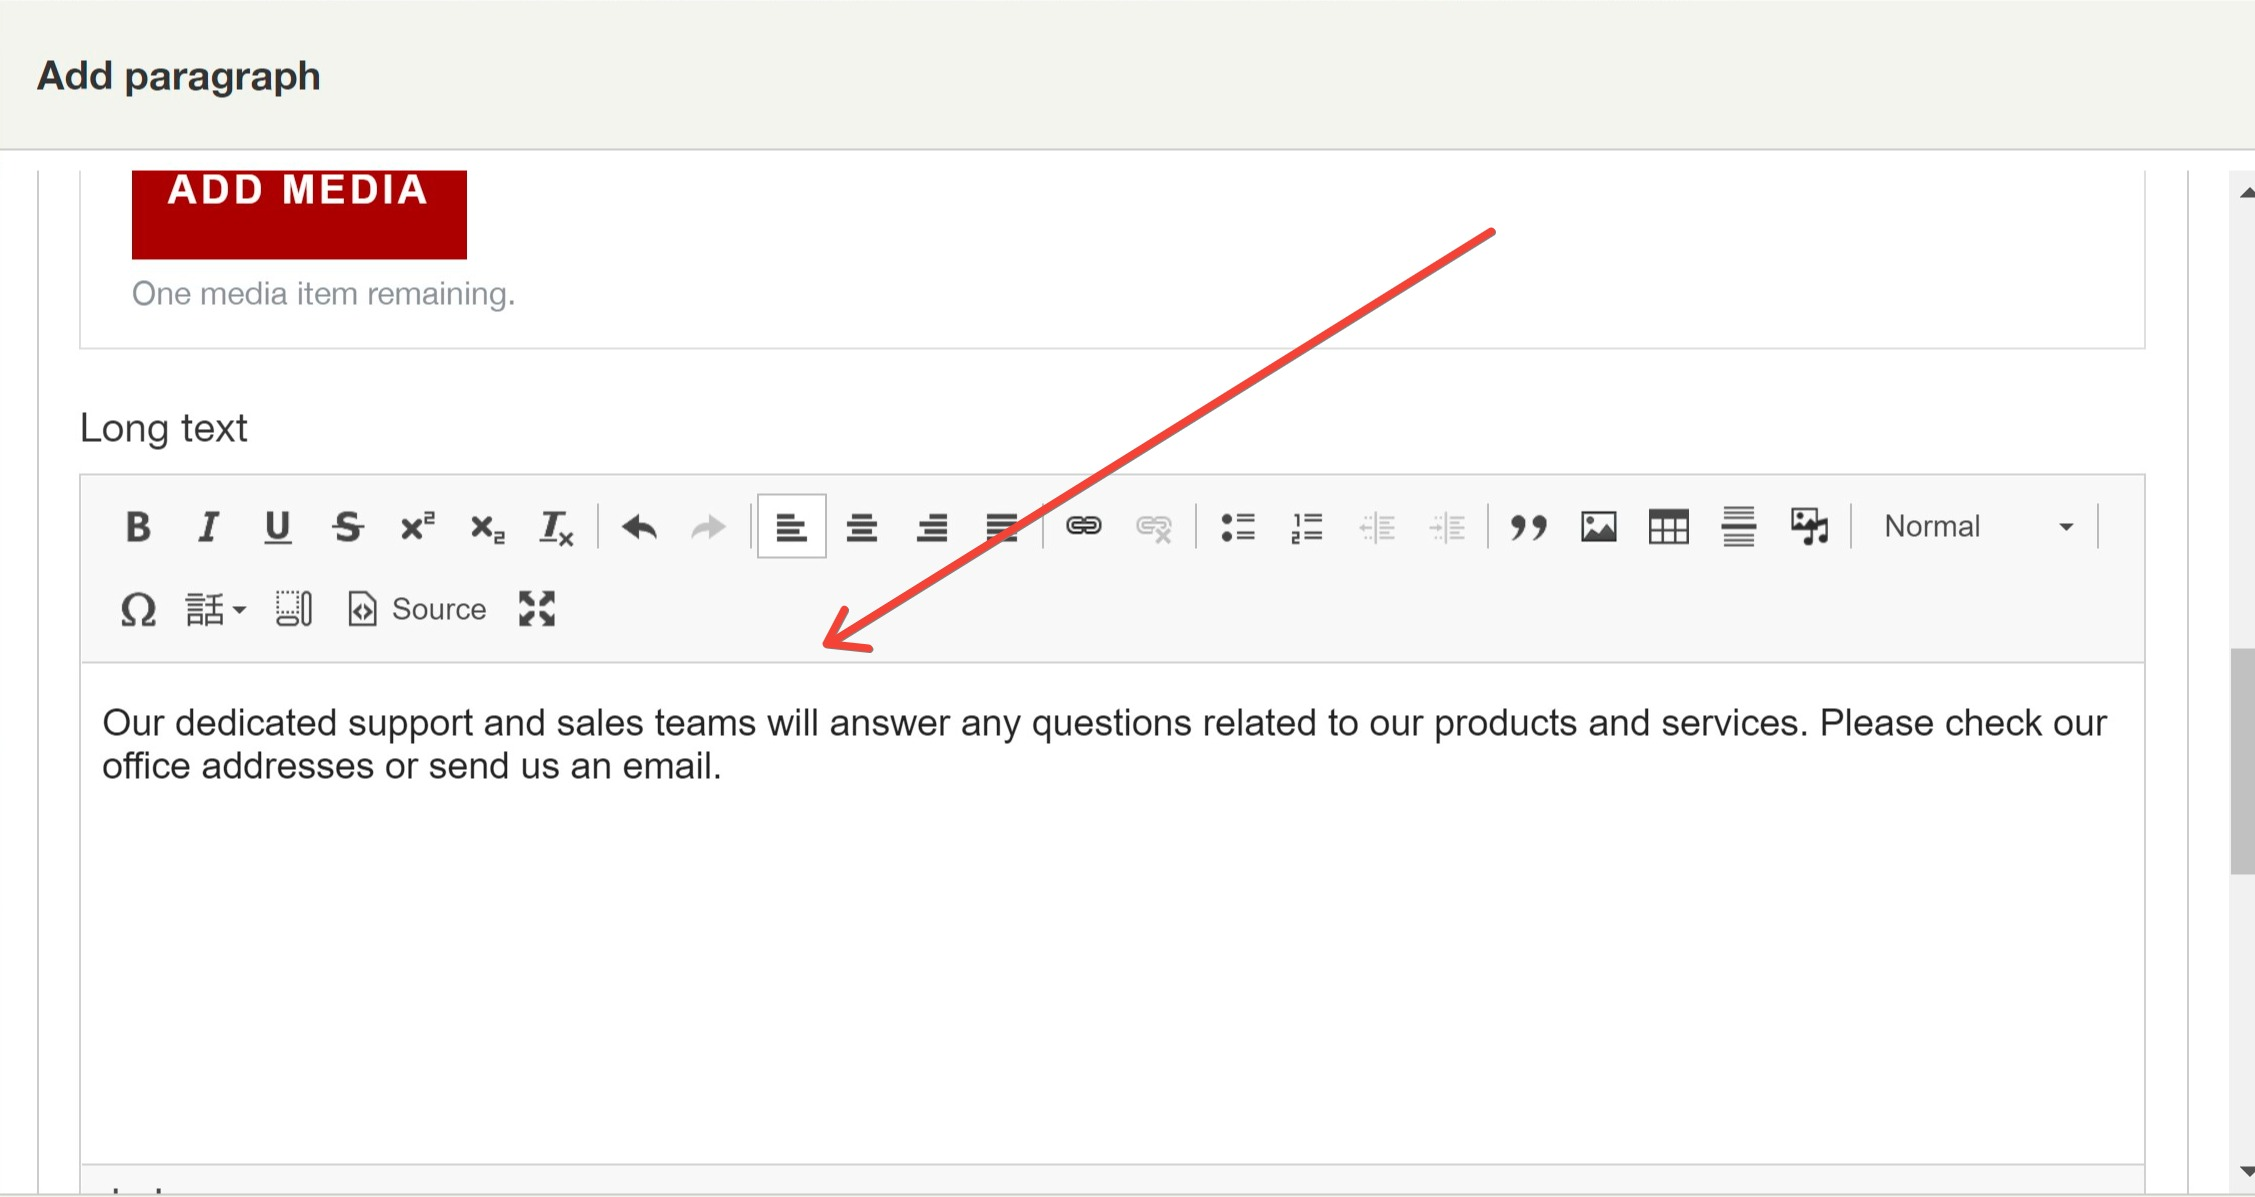
Now we should add an introduction or description text to the subpage. The text field is located at the bottom:
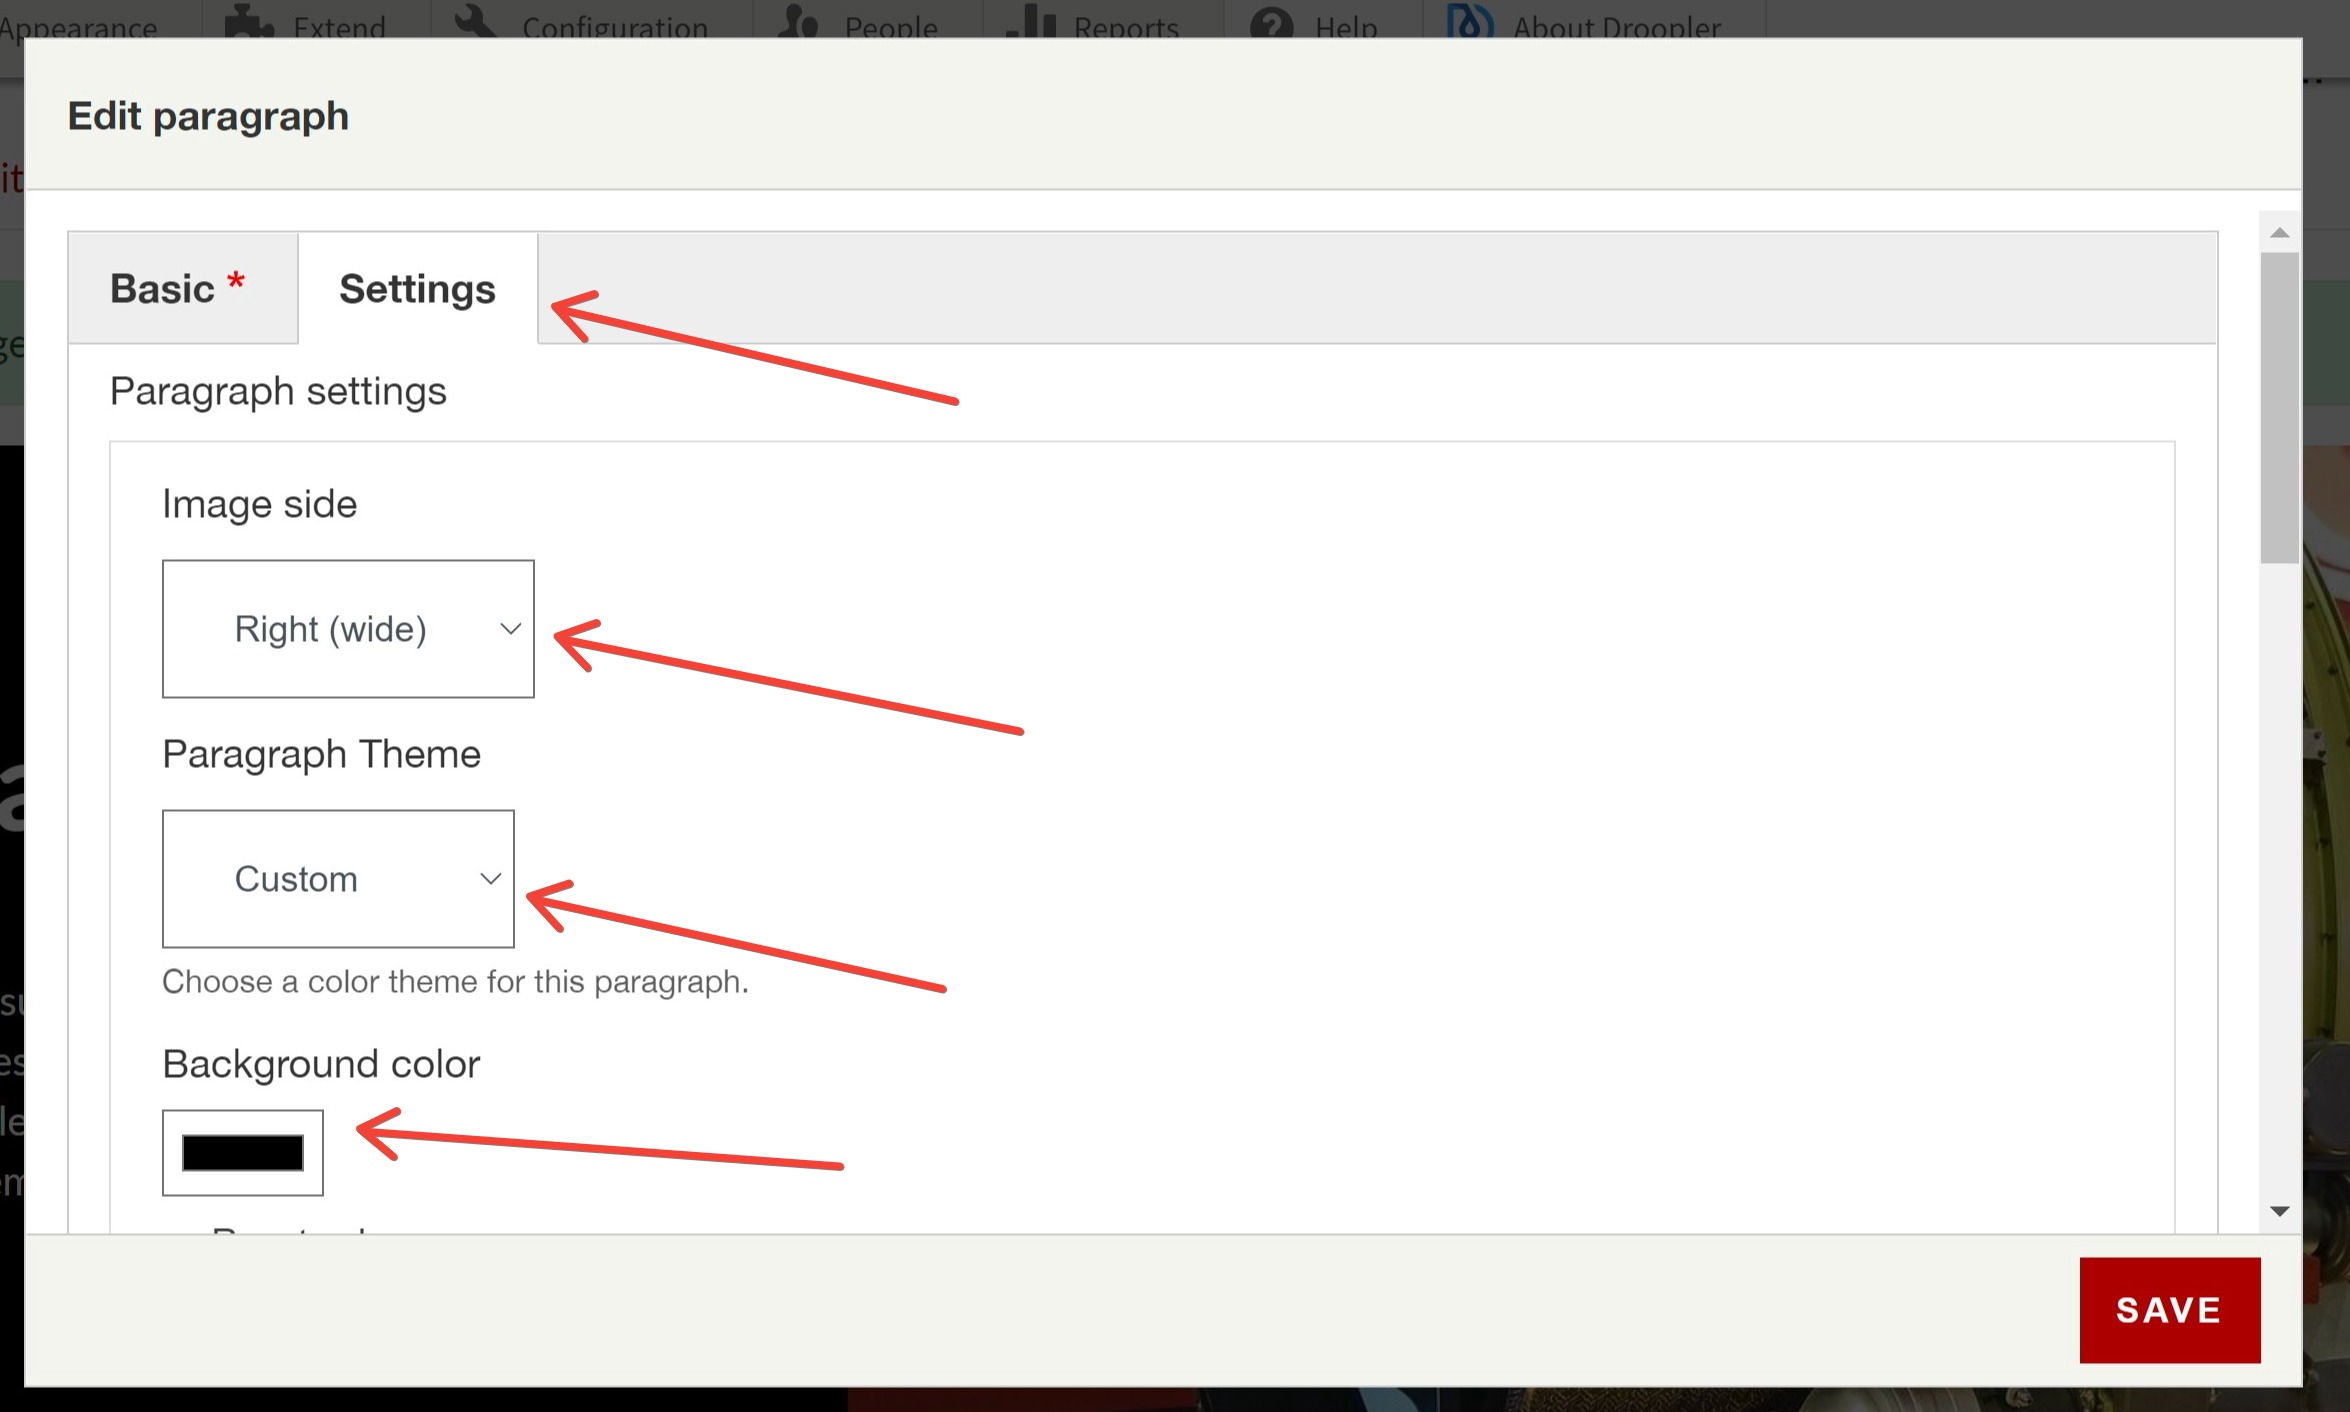
The next step is the settings of the section. We select a location for the image (Right(wide)), Paragraph Theme, background colour and text color.
After clicking Save, we see the first paragraph of the contact page ready.
3. Adding a contact form
On the contact page, it’s a good idea to use a contact form. It will make it much easier for users to send us emails. To start creating it, we click the "plus" button again.
This time we select Form from the list of available paragraphs.

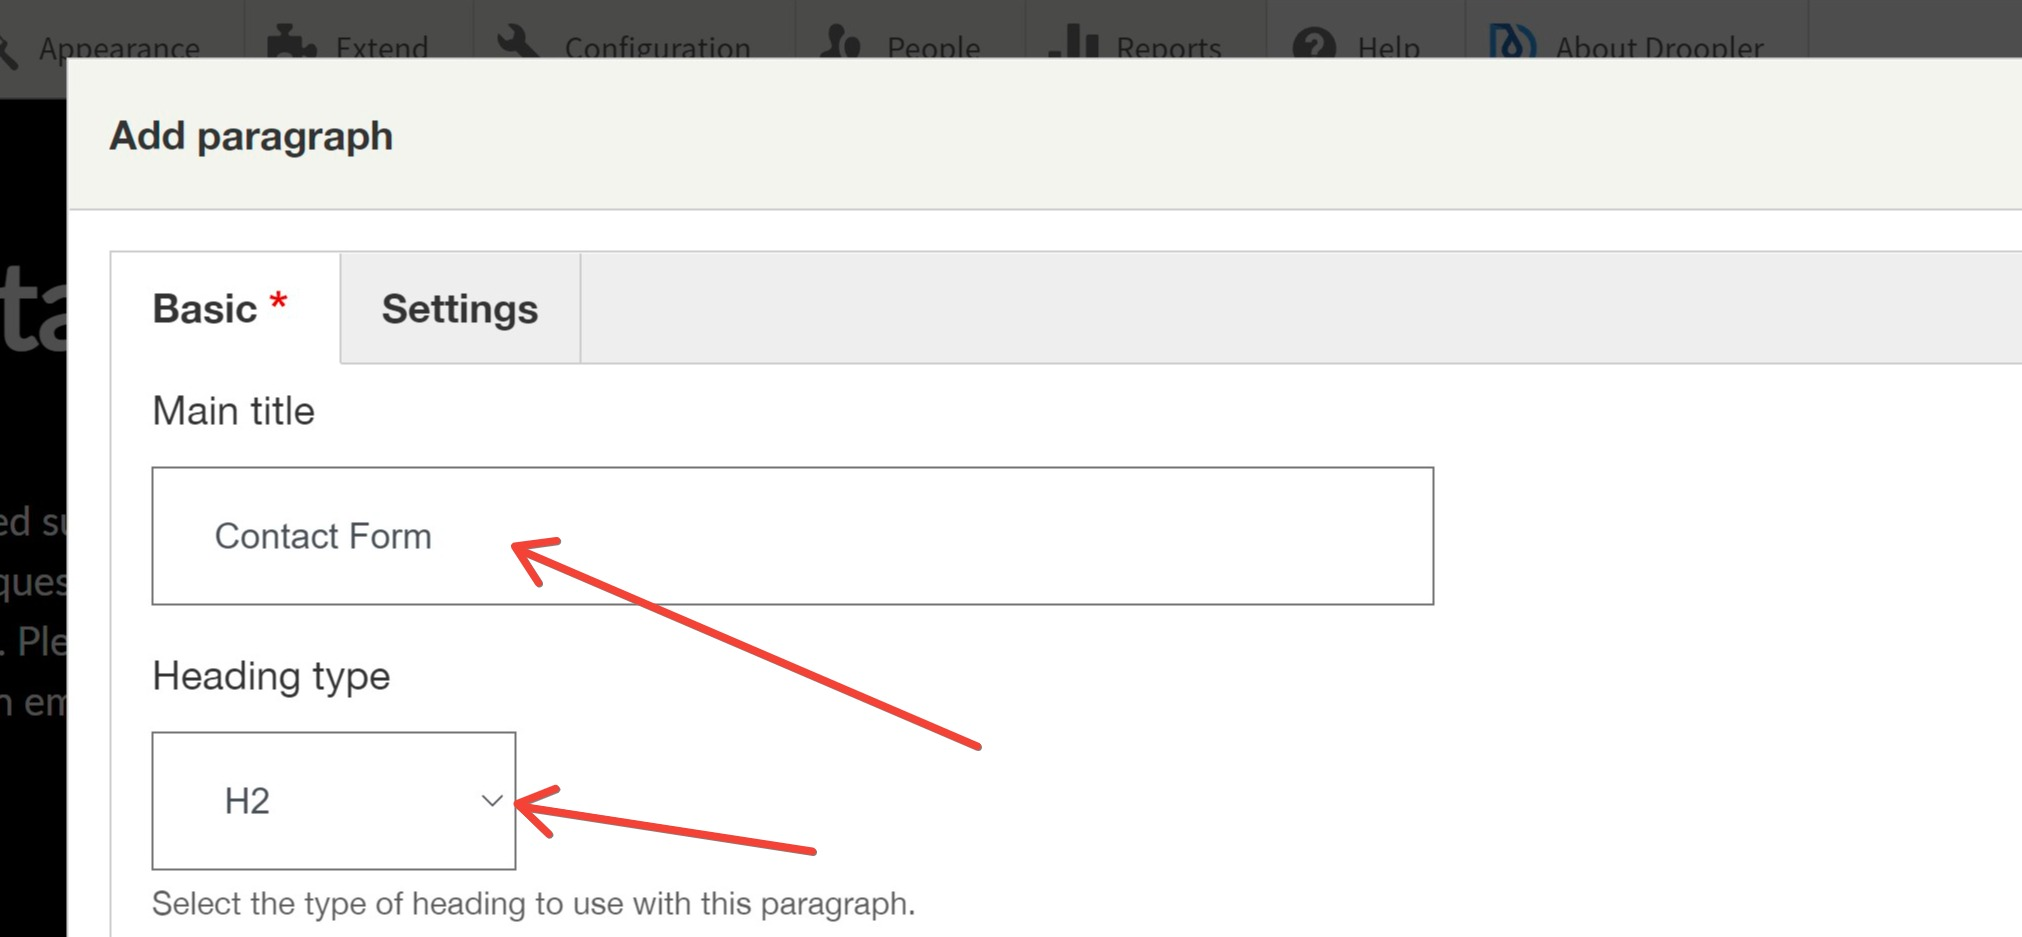
In the next window, we choose the heading title and type.
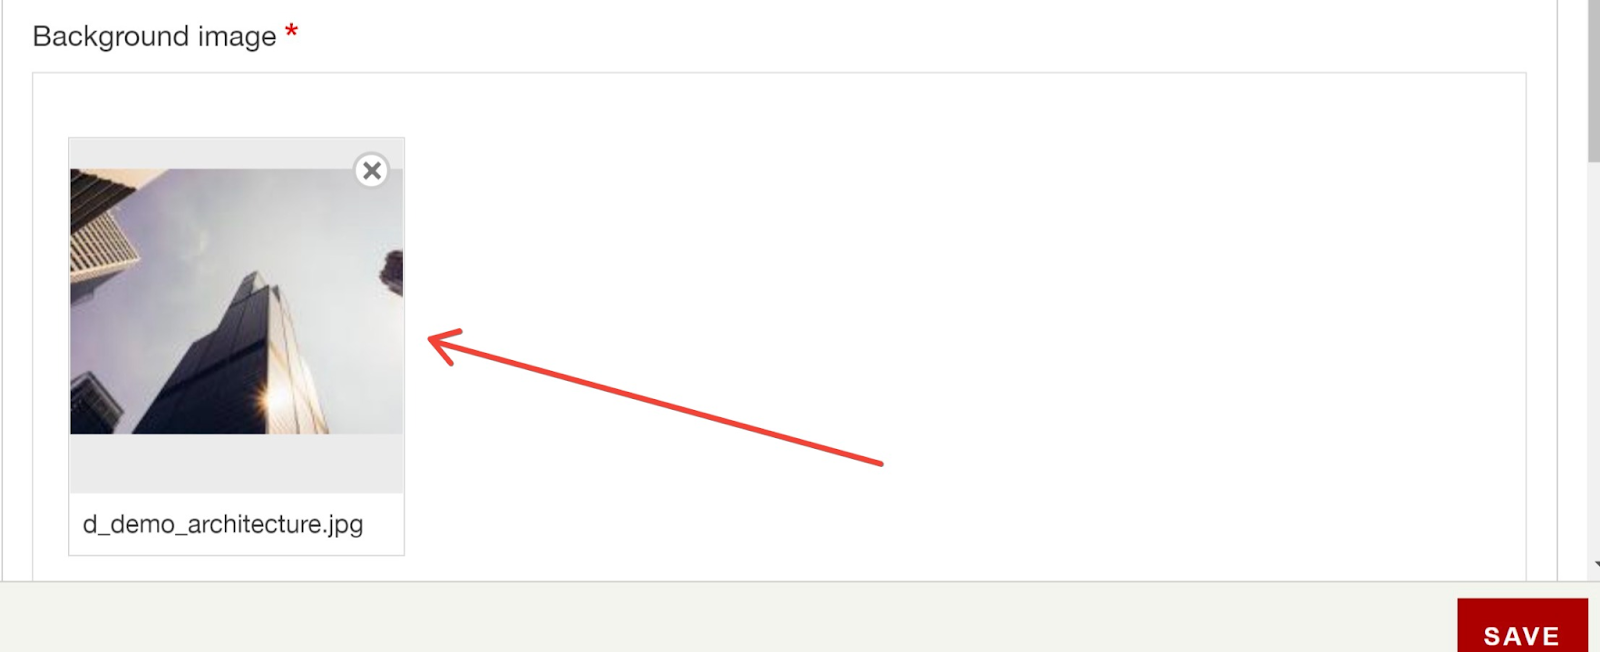
The next step is to set the background. The image selection is the same as in the previous paragraph.
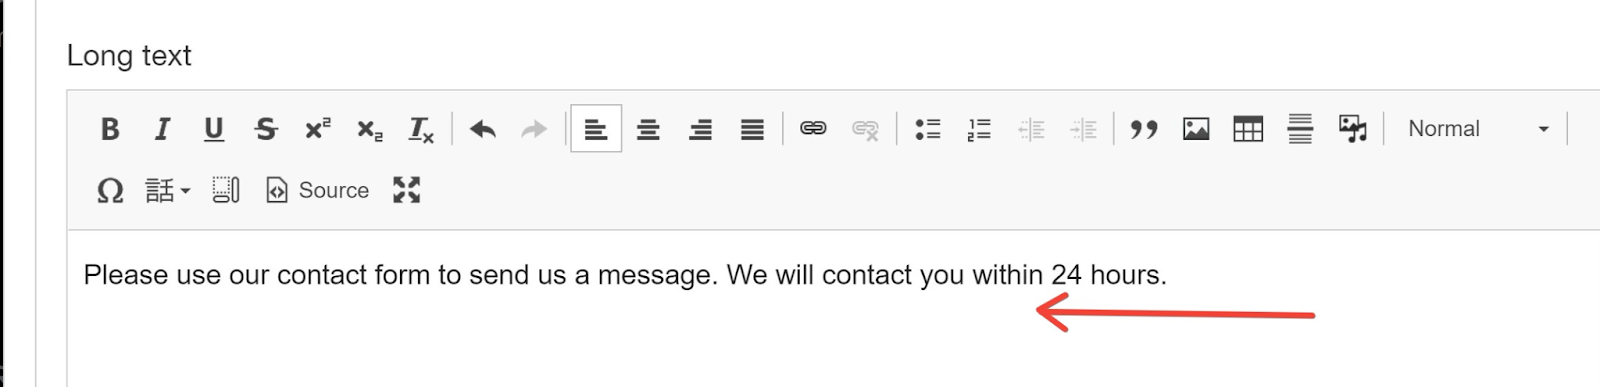
We add the description text.
In the settings tab, we select the position of the form and click Save.

Now we have the contact form section ready.

4. Adding a section with office addresses
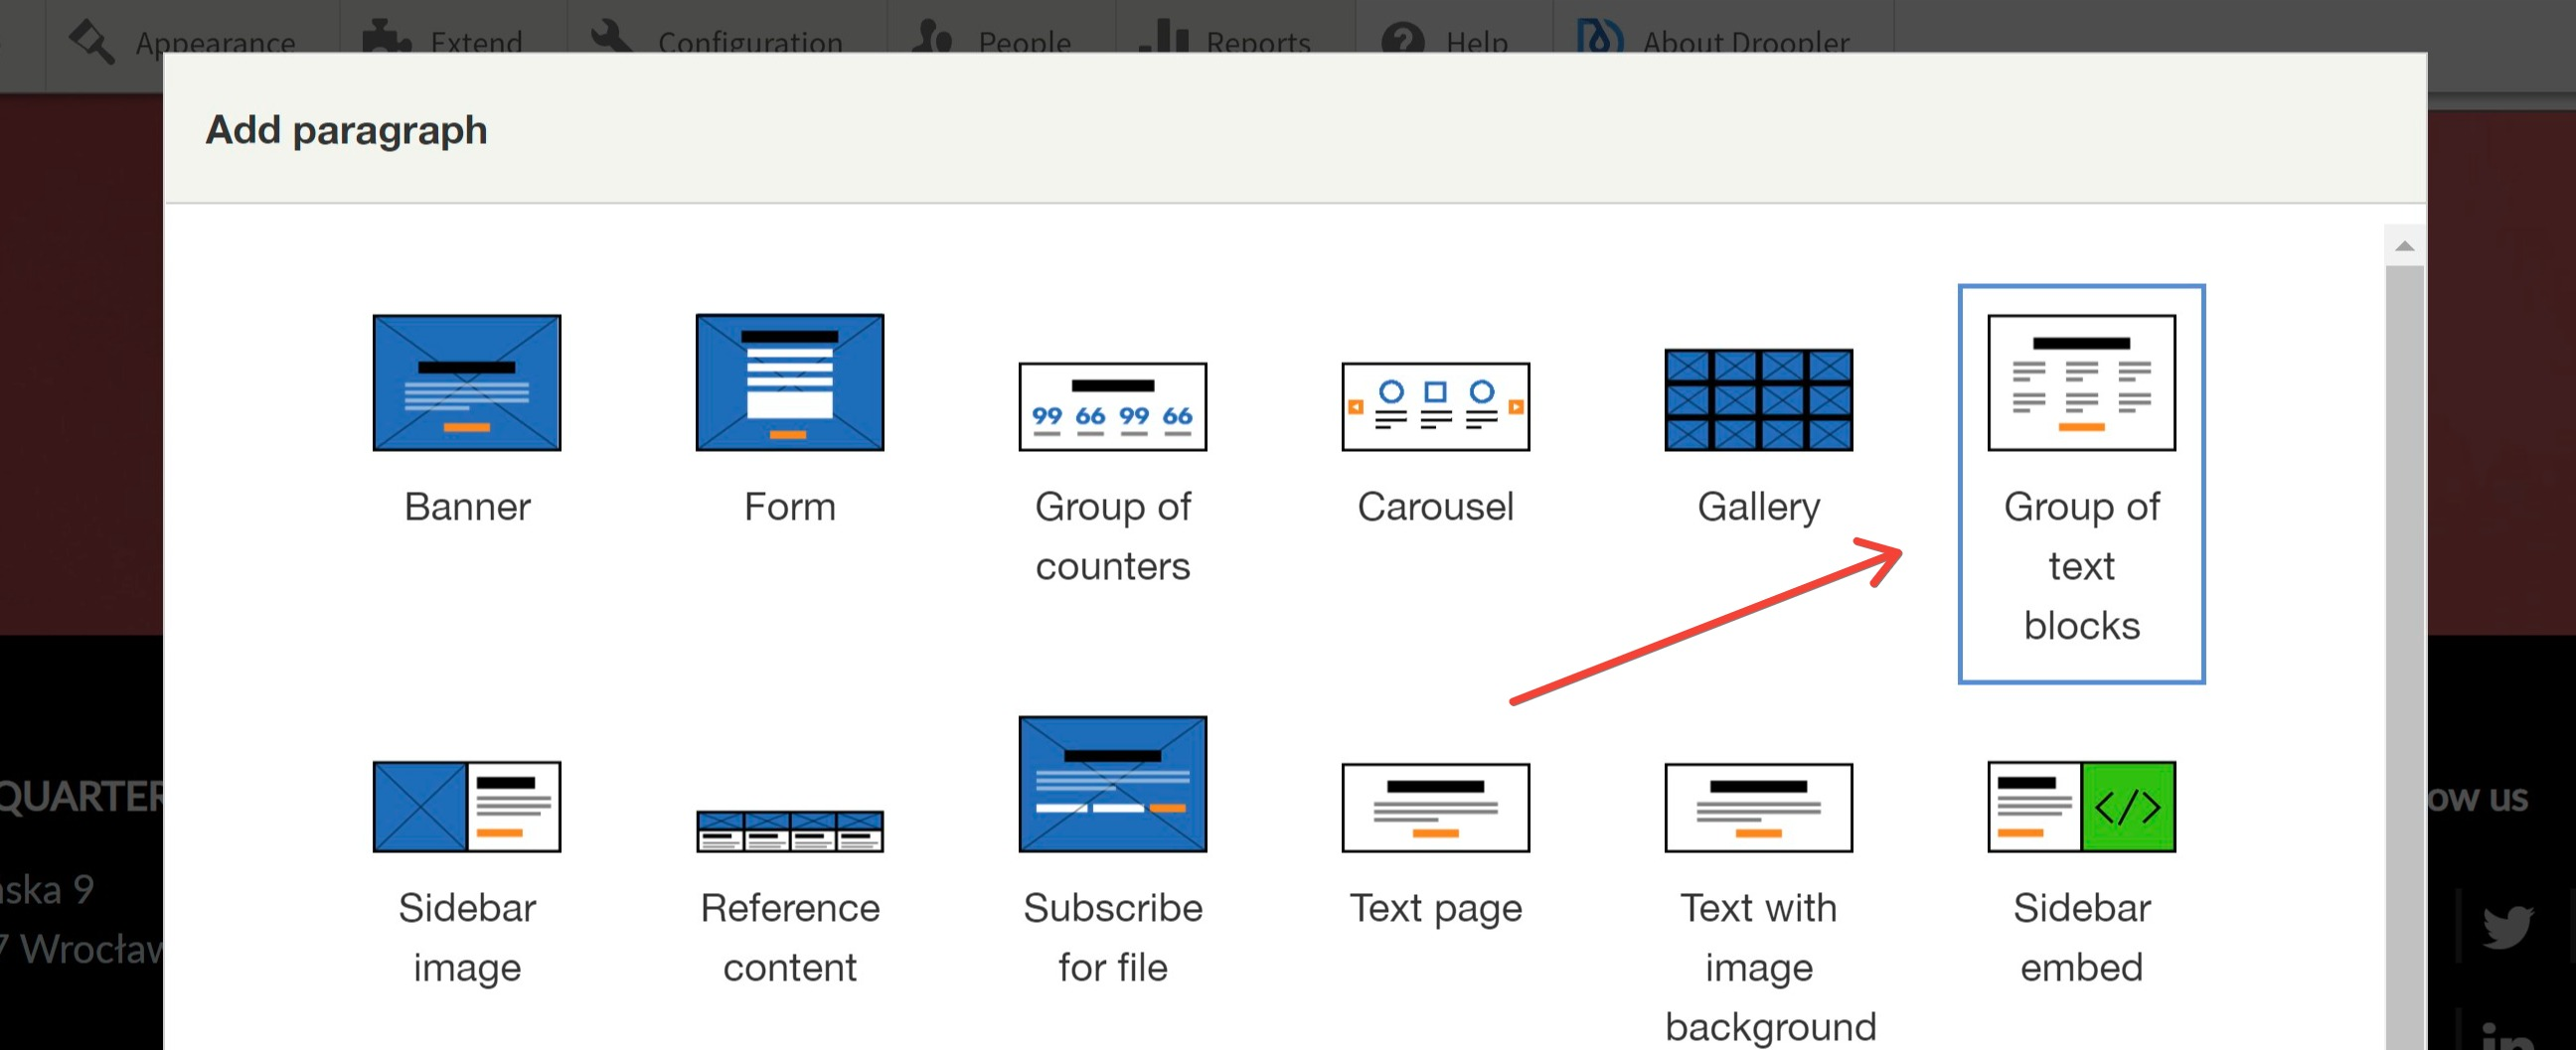
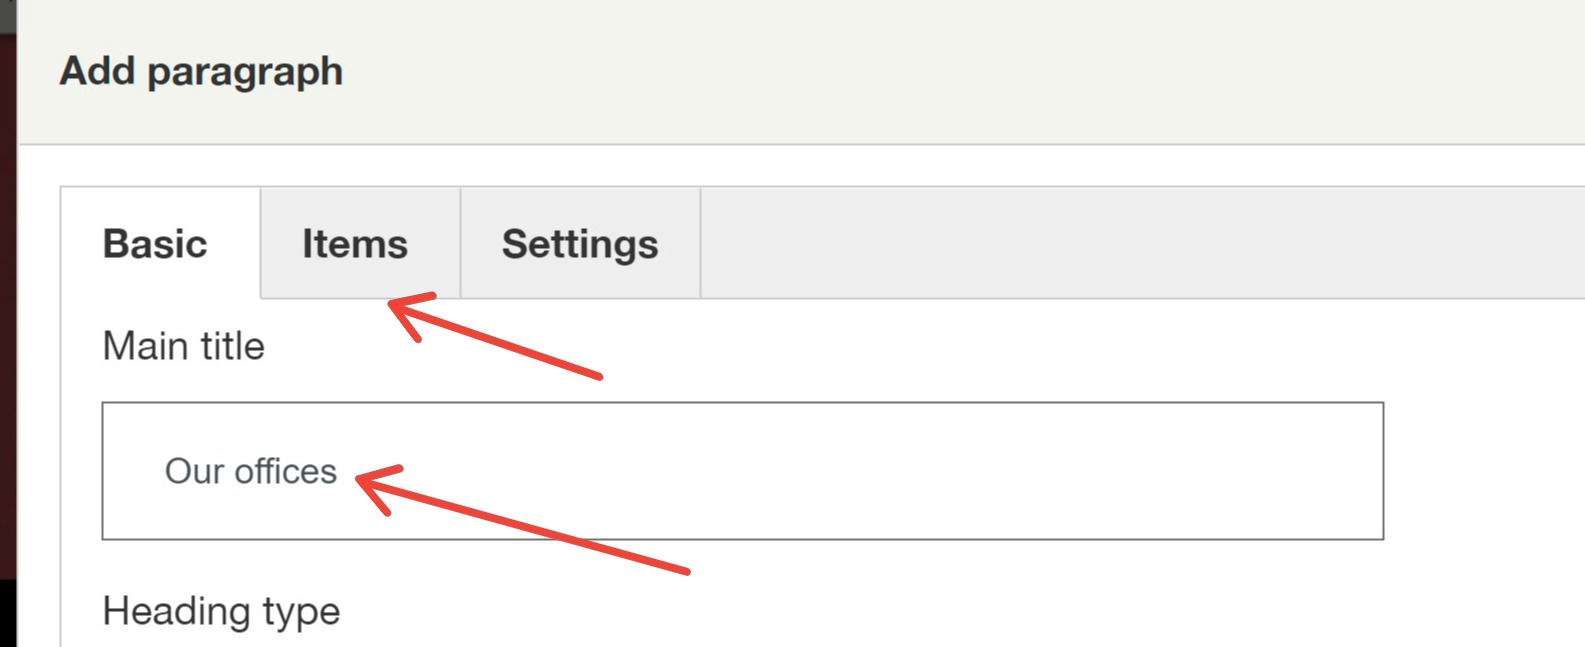
The contact page should also include a section with our company's locations and contact information. We can add such elements using the Group of text blocks section, which gives us a lot of possibilities.
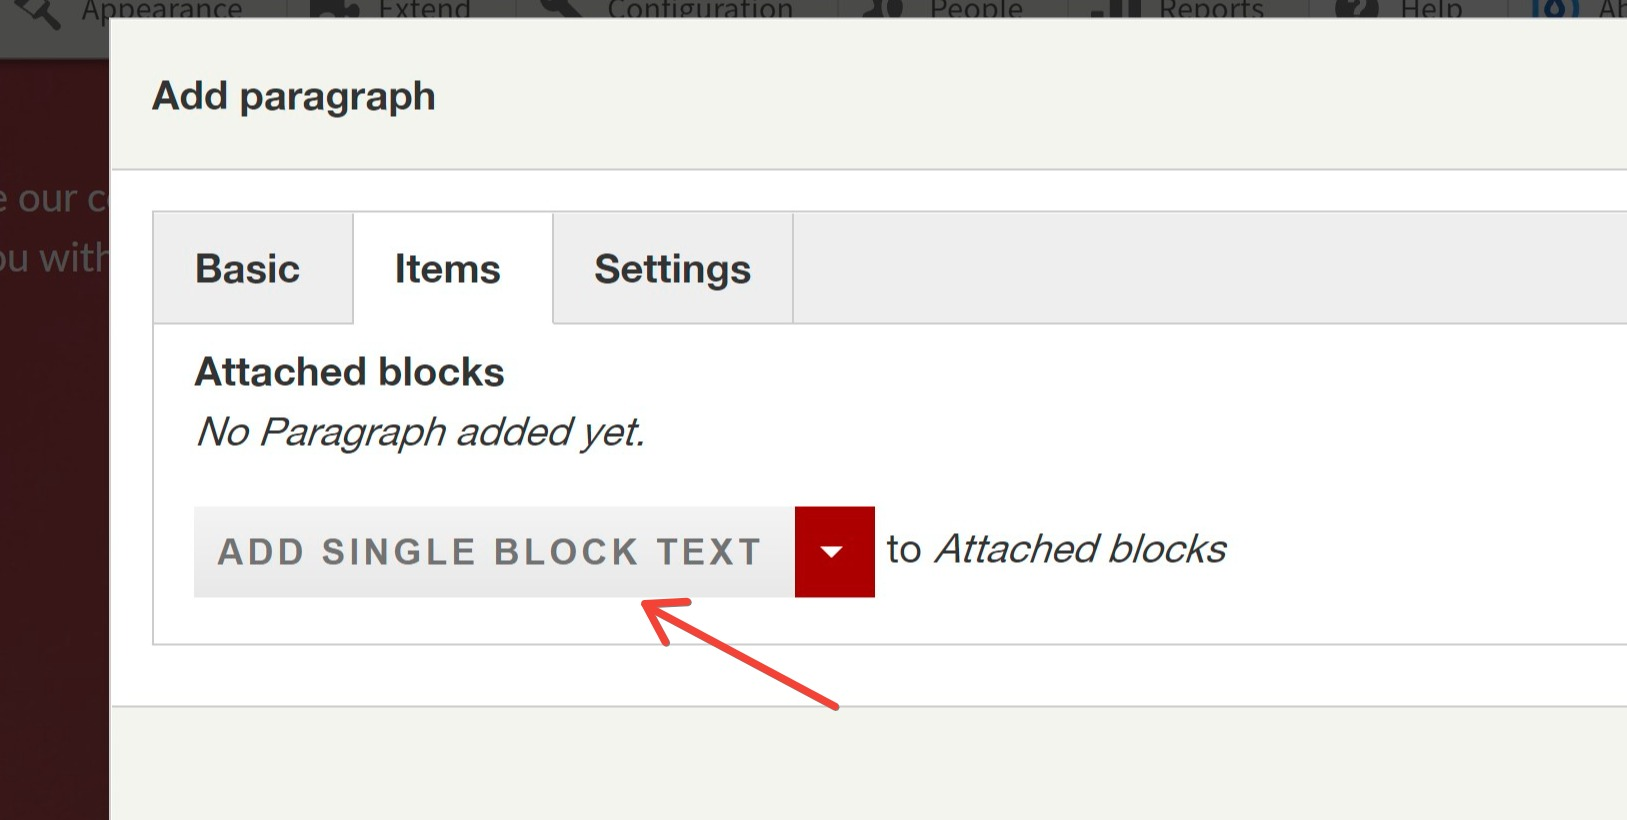
We add the title and go to the Items tab.
We select Add single block text.
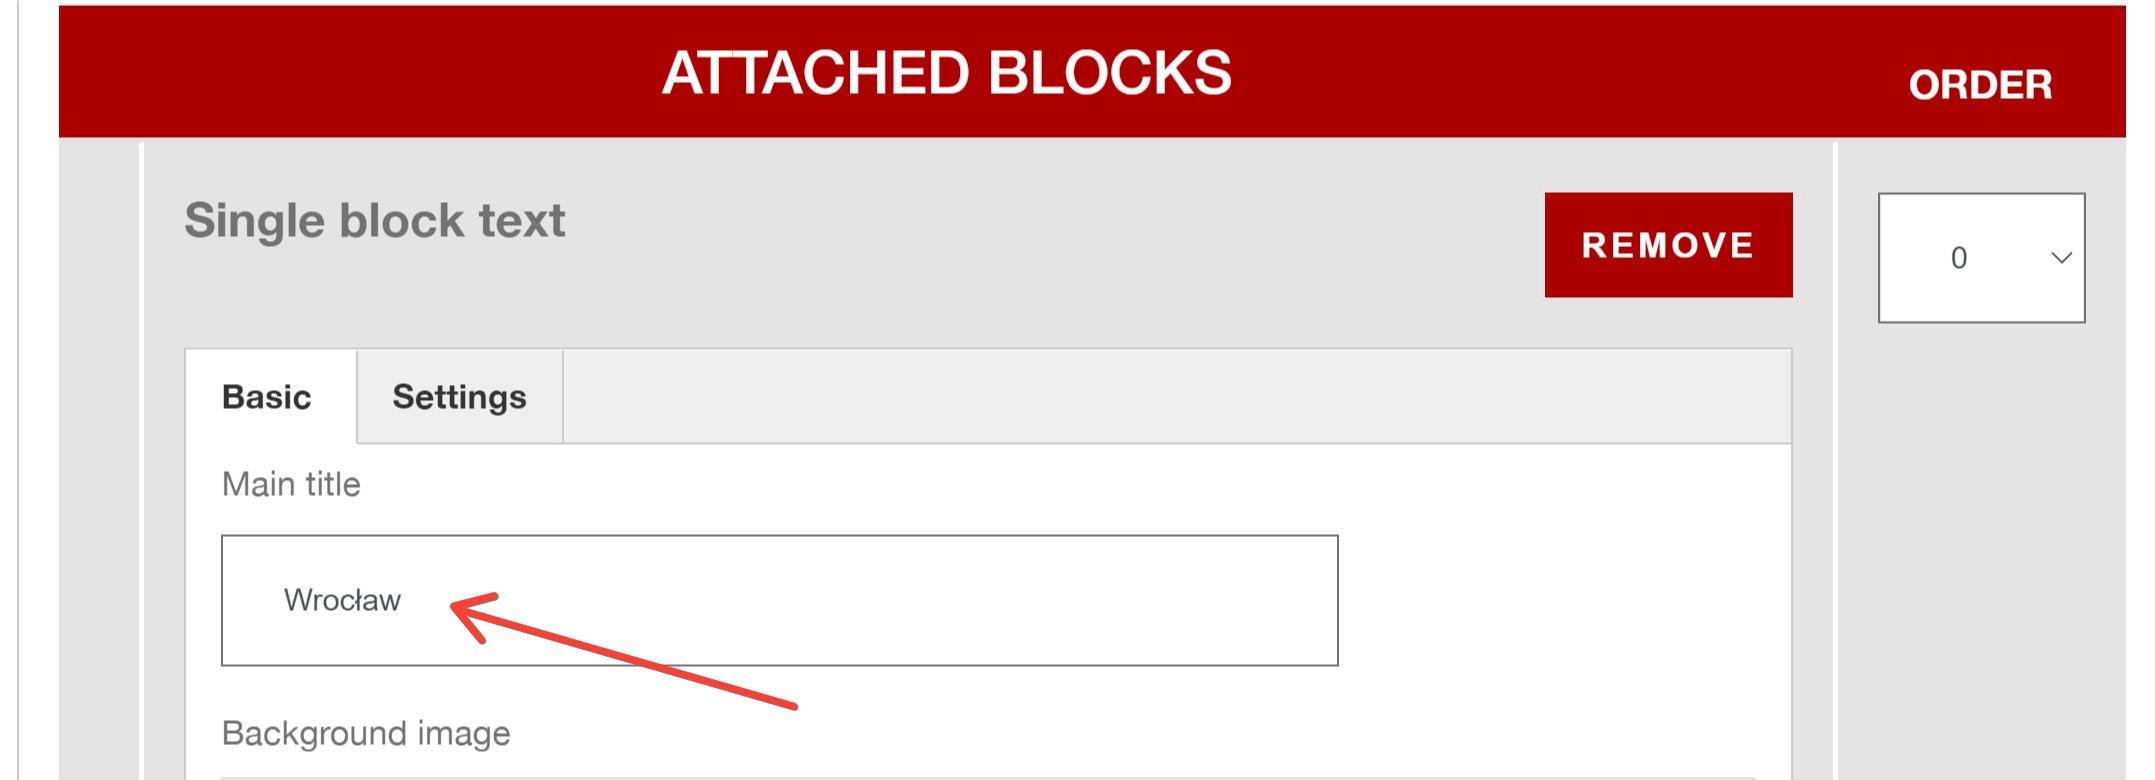
We enter the name of the city in which our office is located.
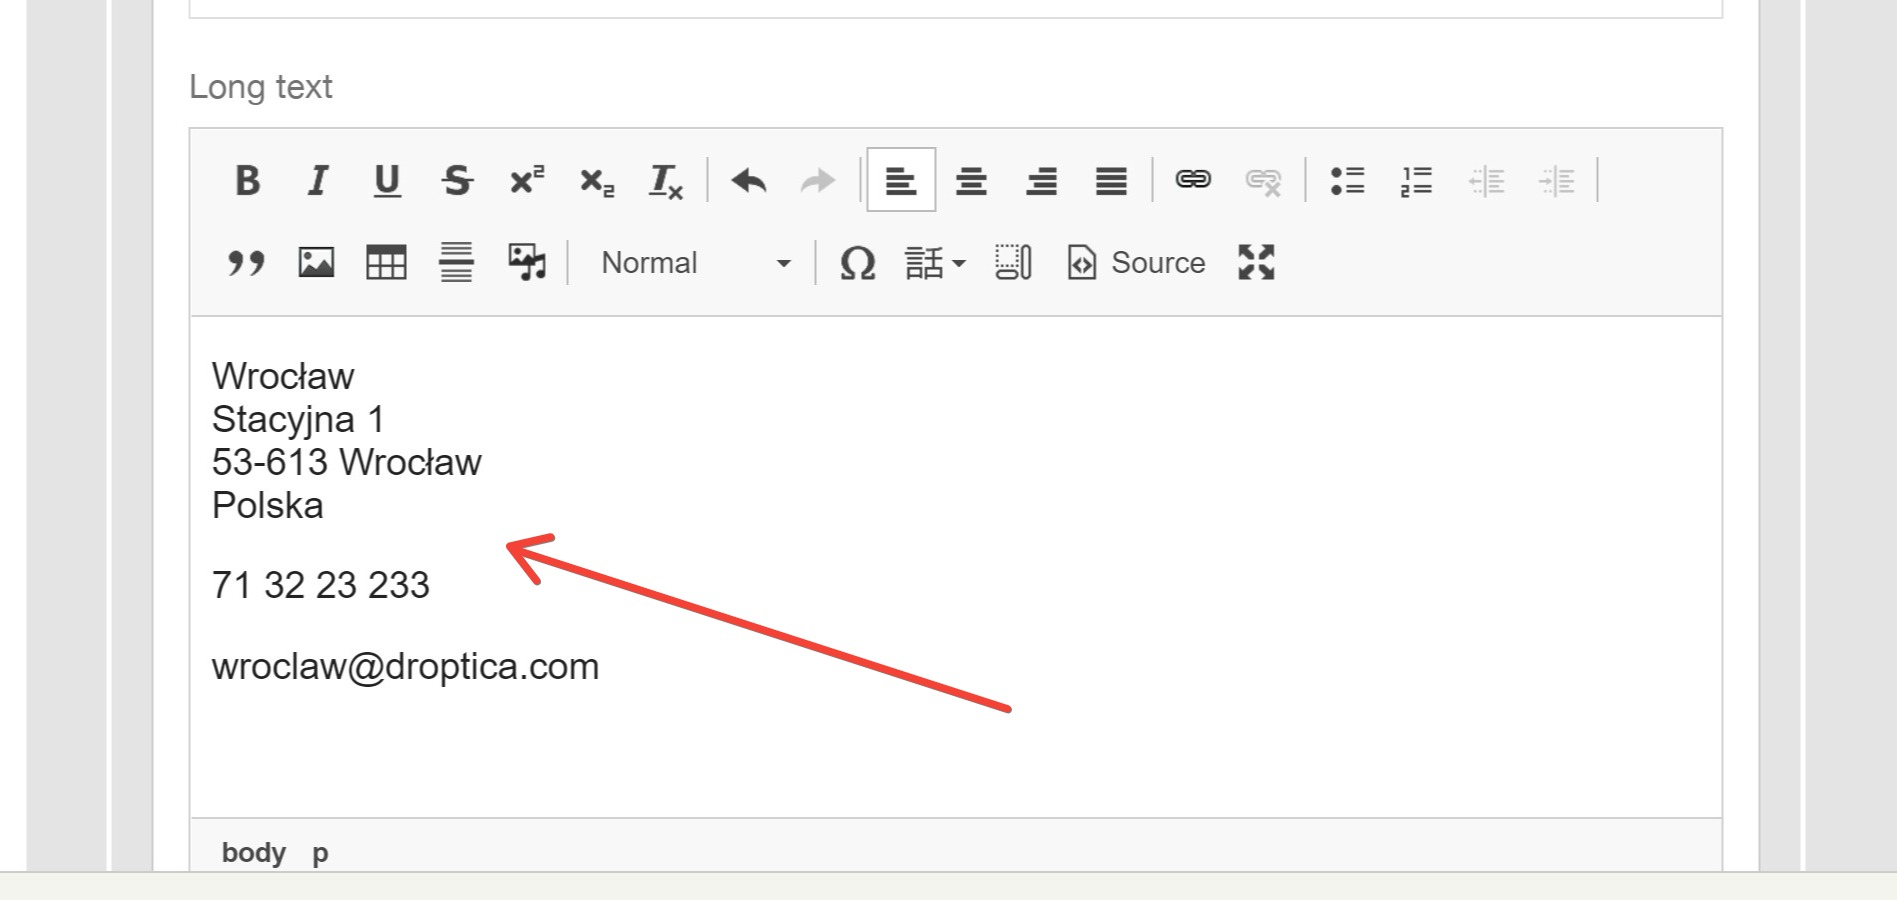
We fill in the field below with our address and contact information.
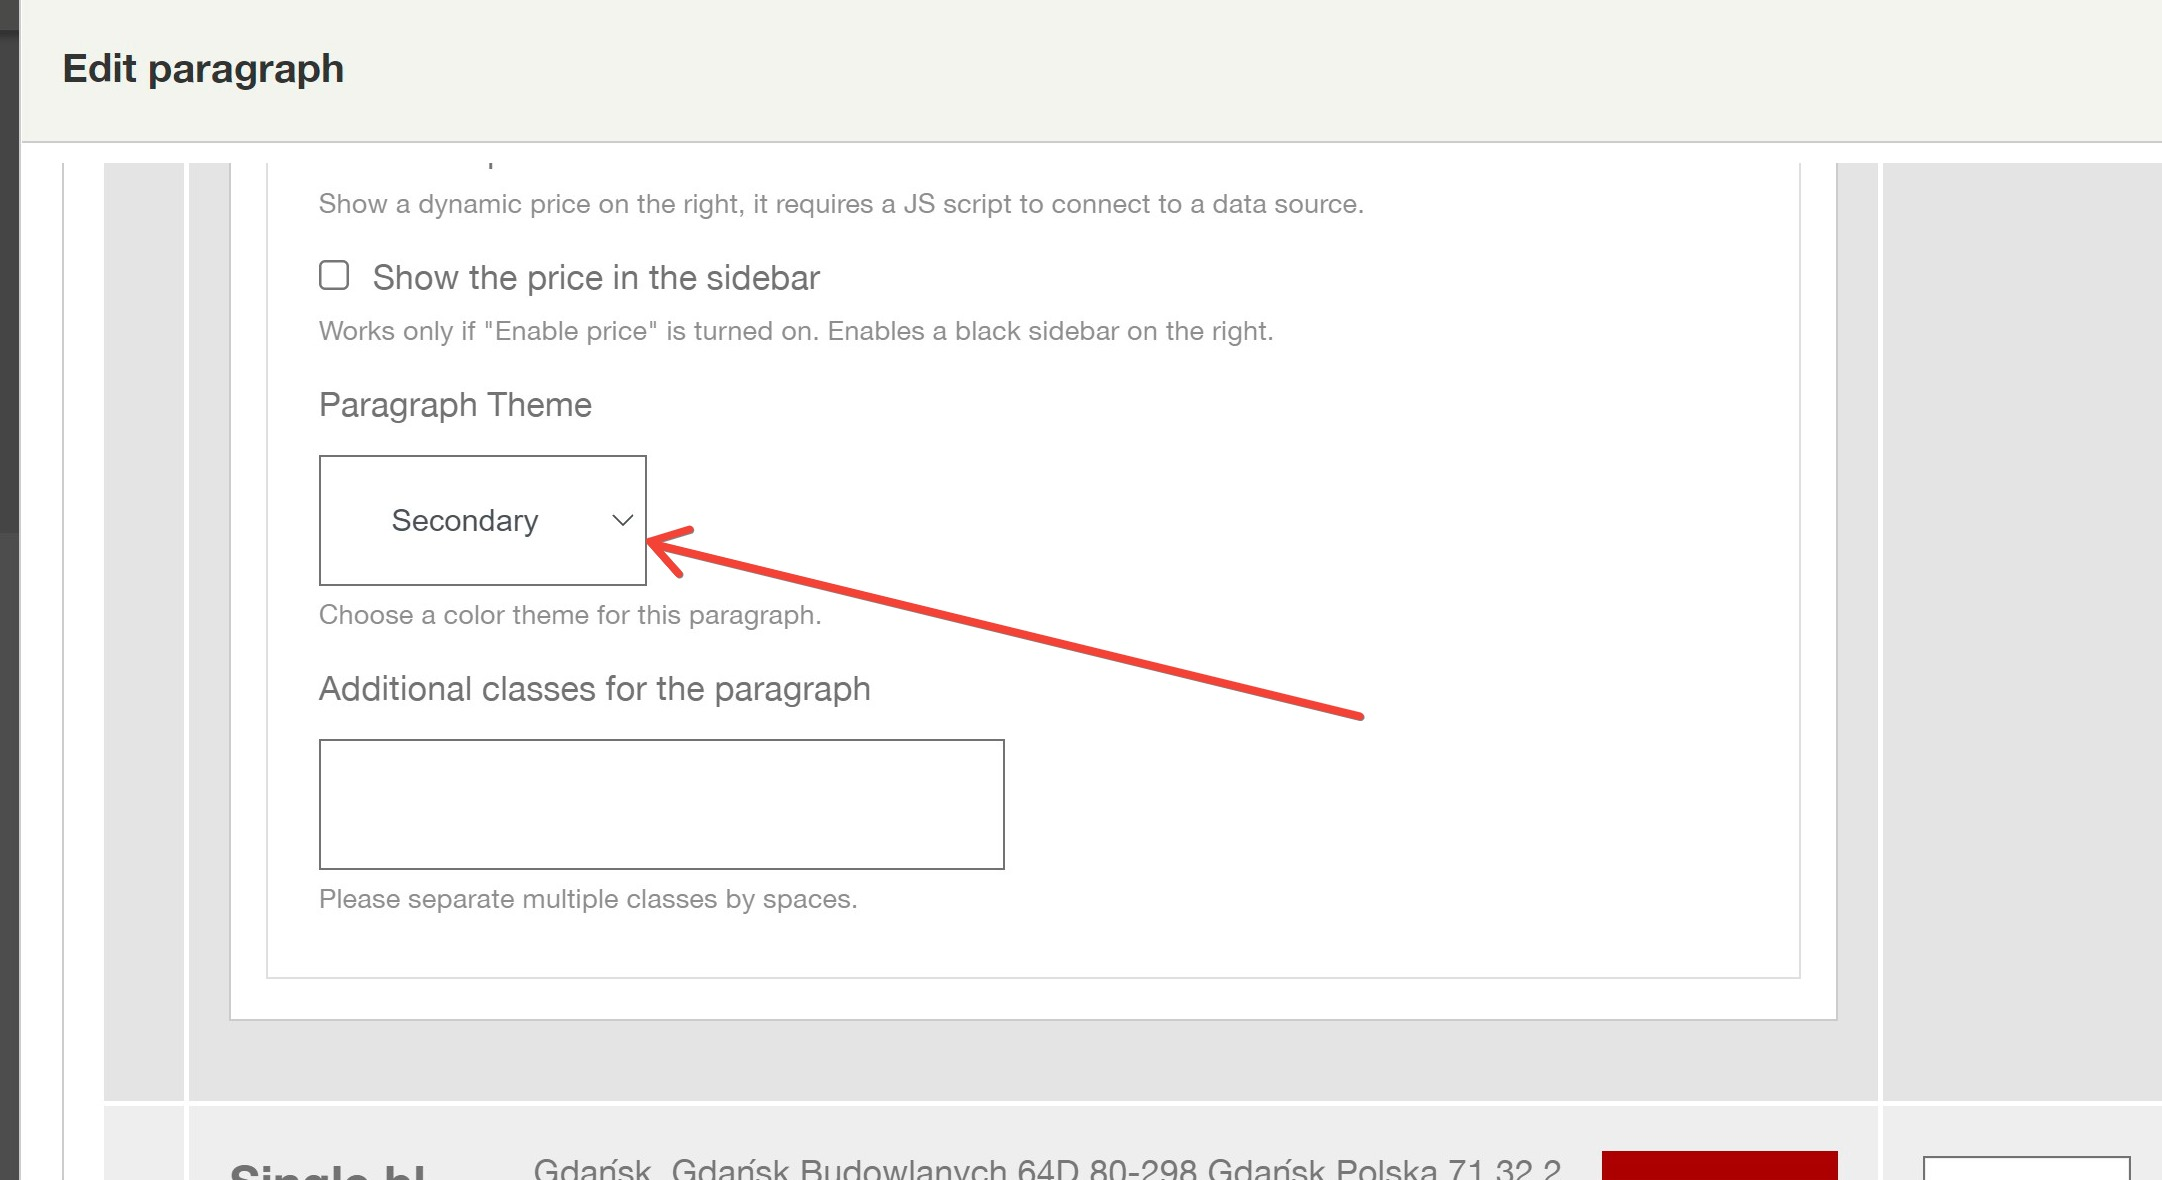
In the Settings tab, we set the visual style of the tiles (with white background) as Secondary.
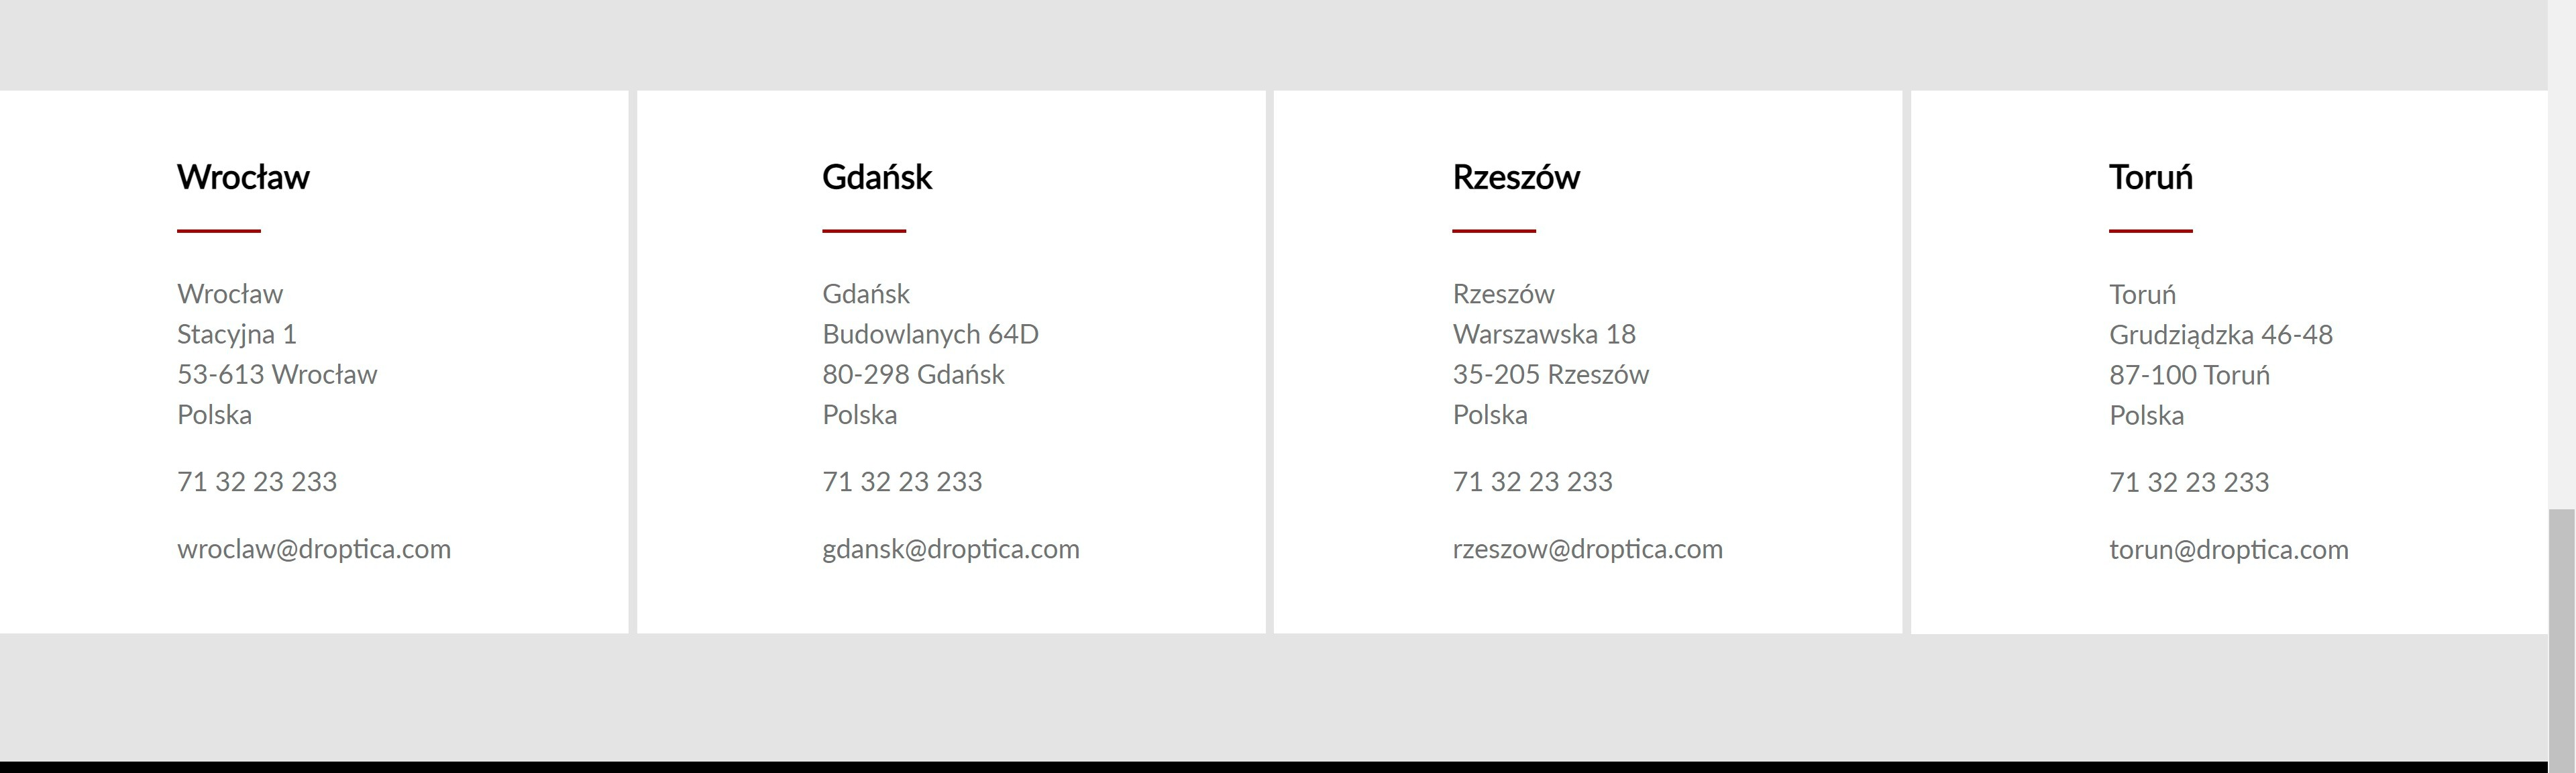
In a similar way, we add three more cities and addresses to fill the layout in four columns.

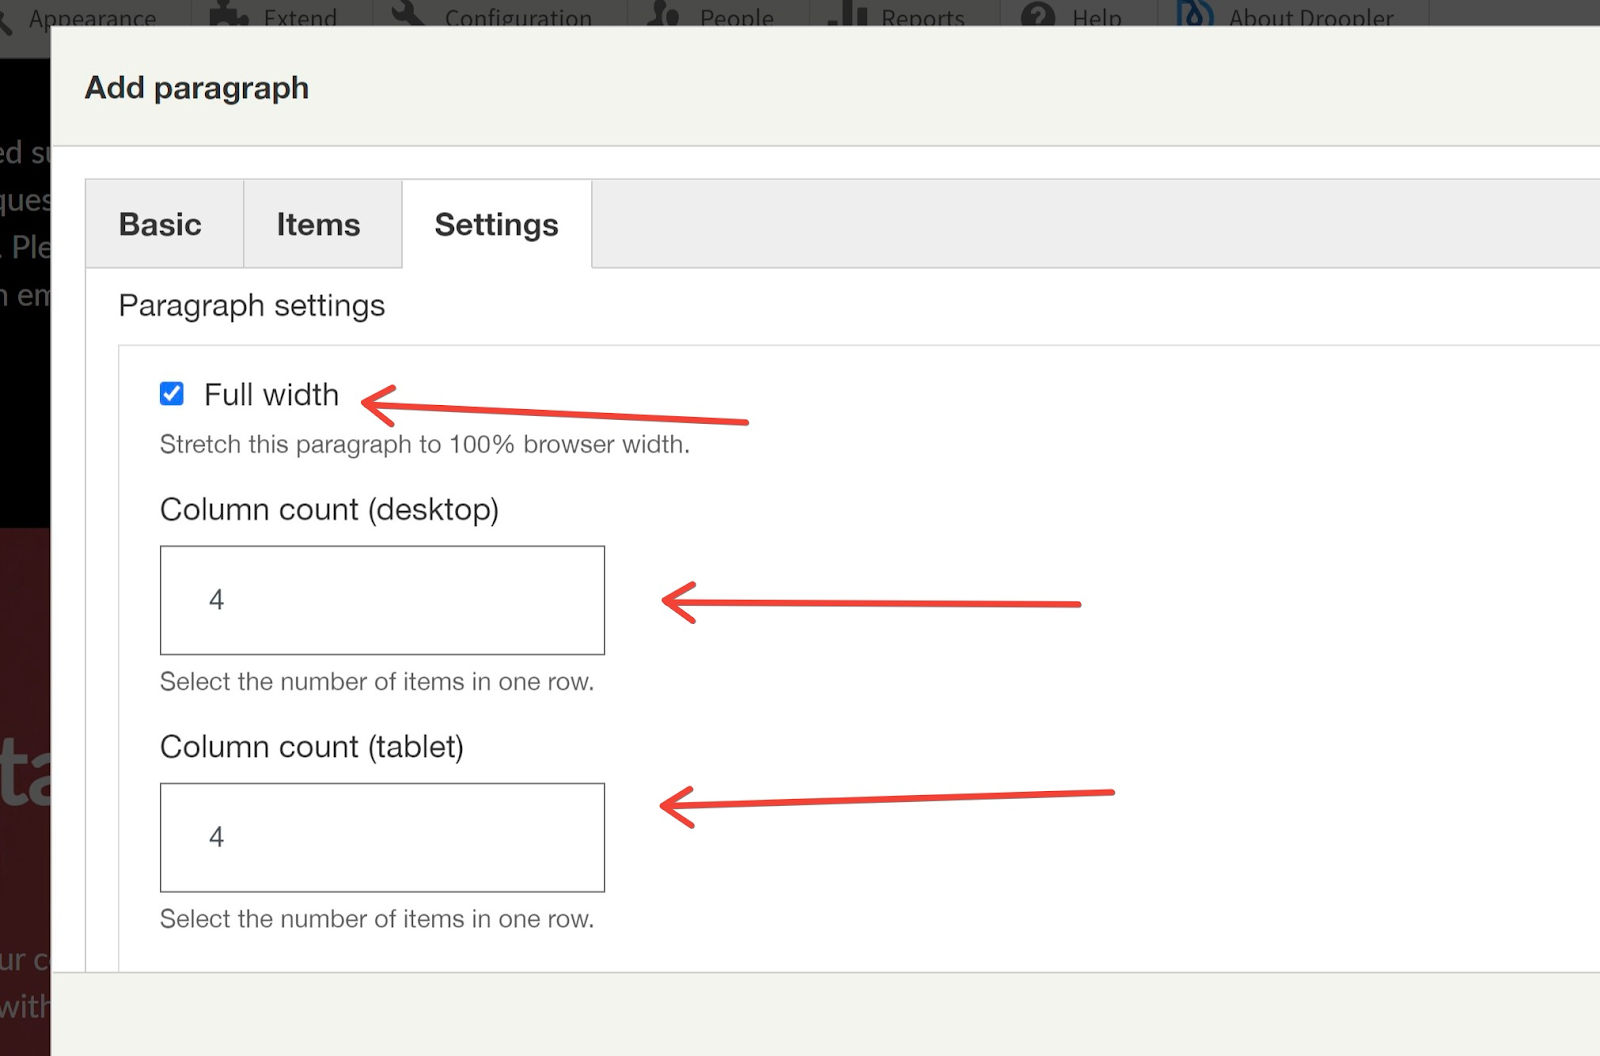
In the settings tab, we configure the section as follows, specifying the section width and the number of columns.
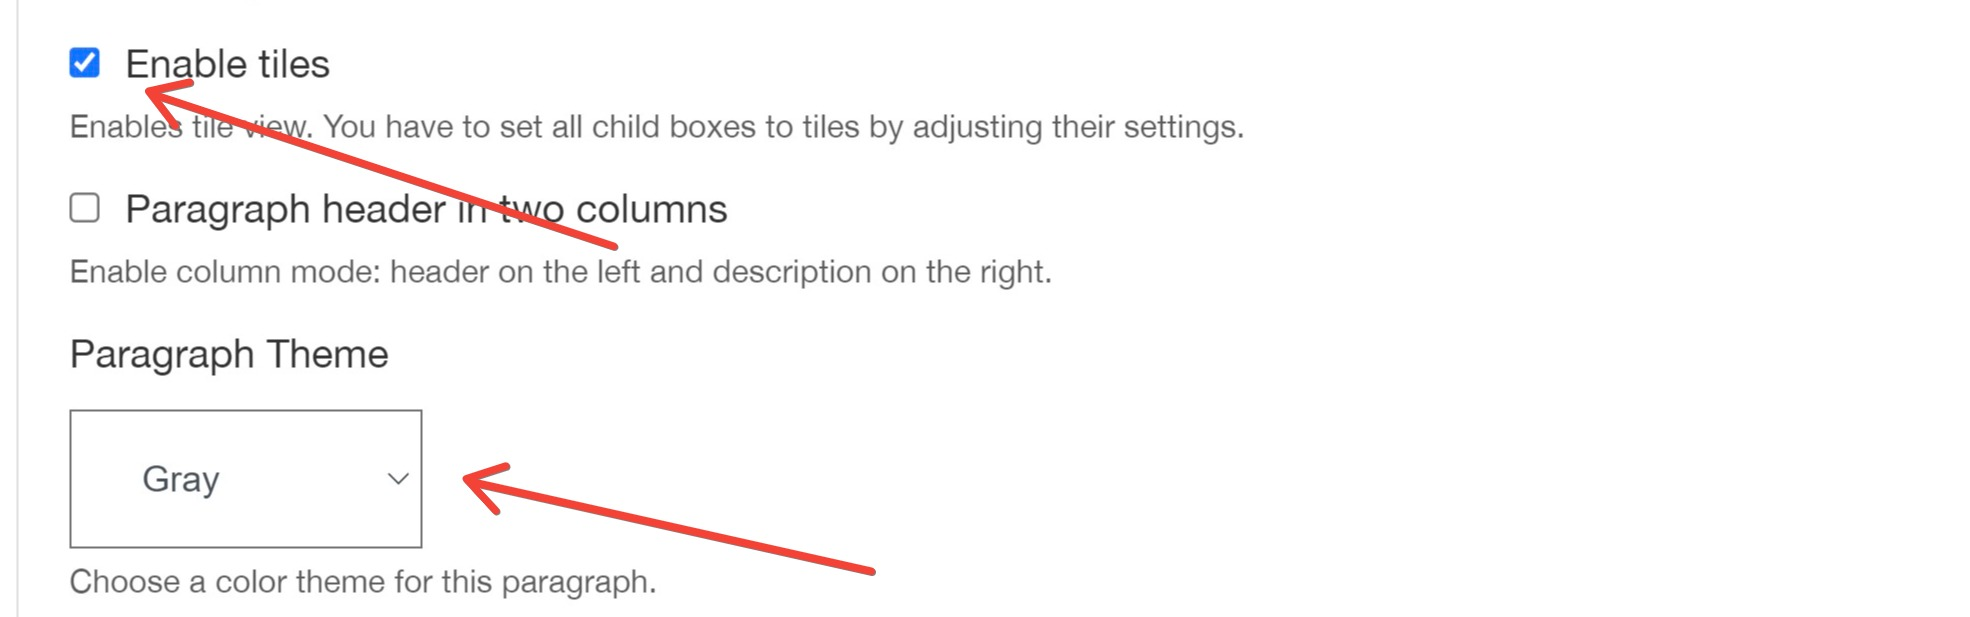
We select the tiles option and the colour style Gray.
After clicking Save our address section is ready.
5. Placing the map
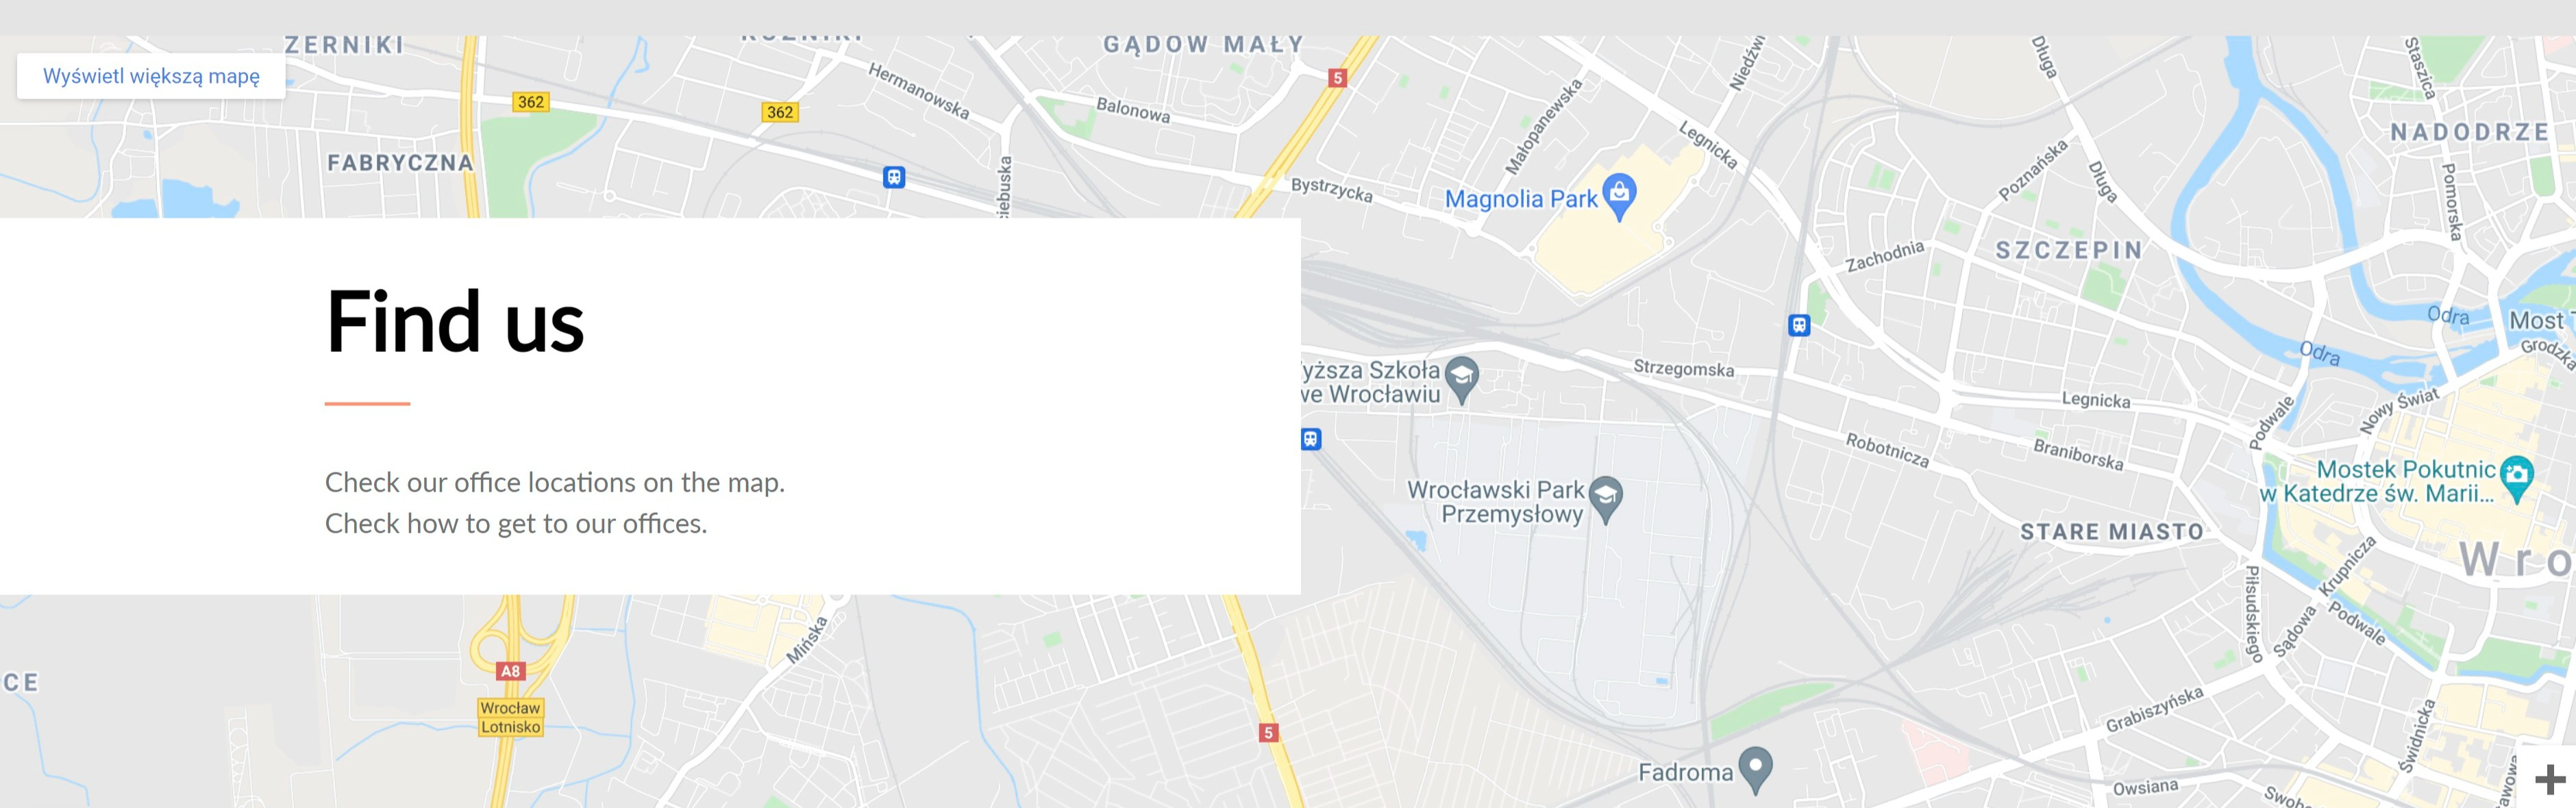
The last section on the contact page will be a paragraph with a Google map and the company's main office address. We’ll use the Sidebar embed paragraph for this purpose.
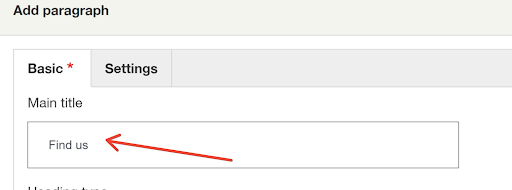
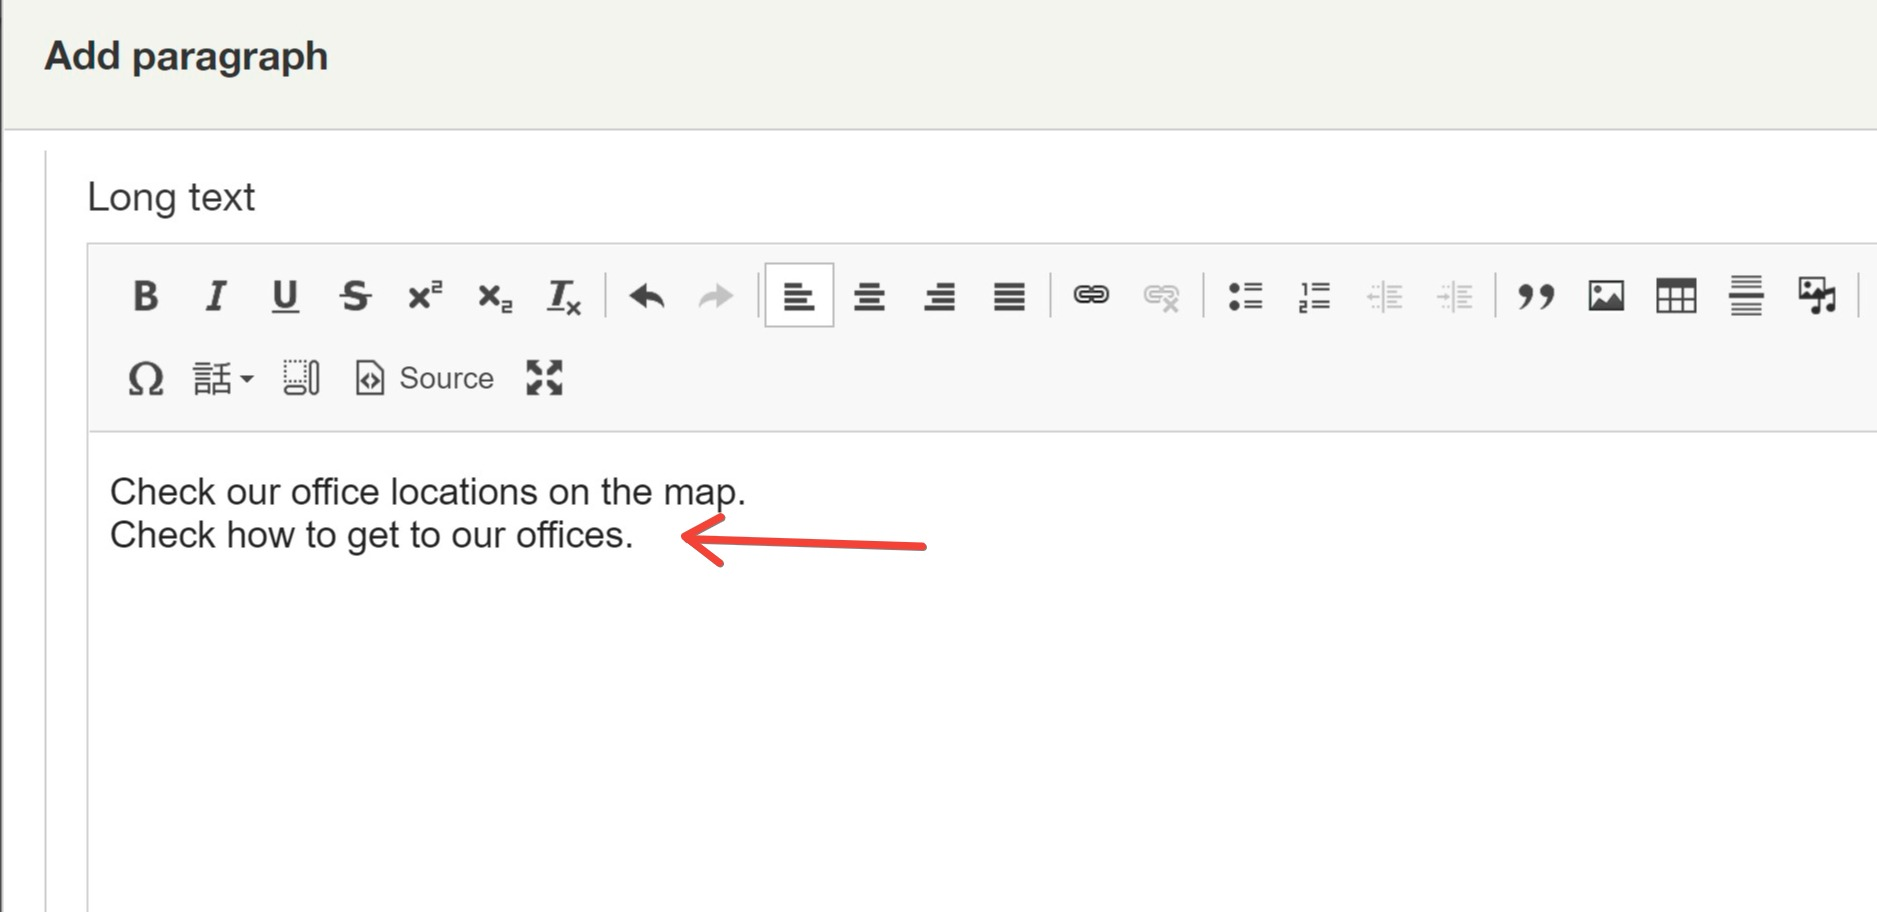
We enter, as in the previous paragraphs, the title of the section, this time, it will be Find us, and we add a description.
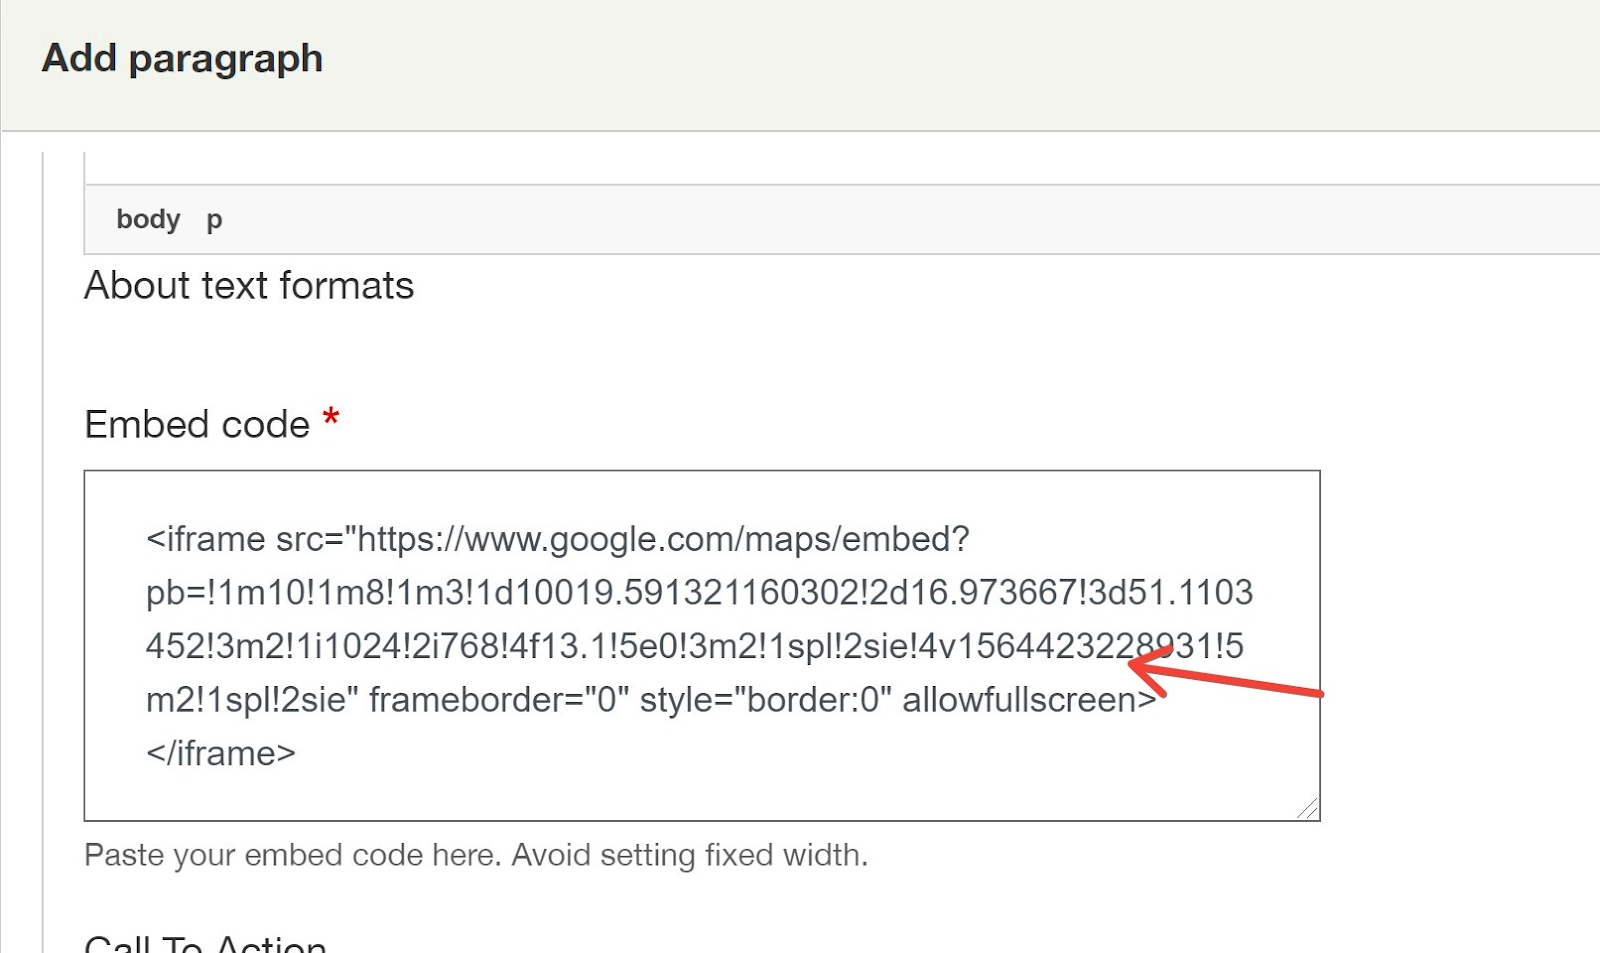
And in the Embed code field, we paste the code generated from Google maps with the location of interest.
In the section settings tab, we select the following options:
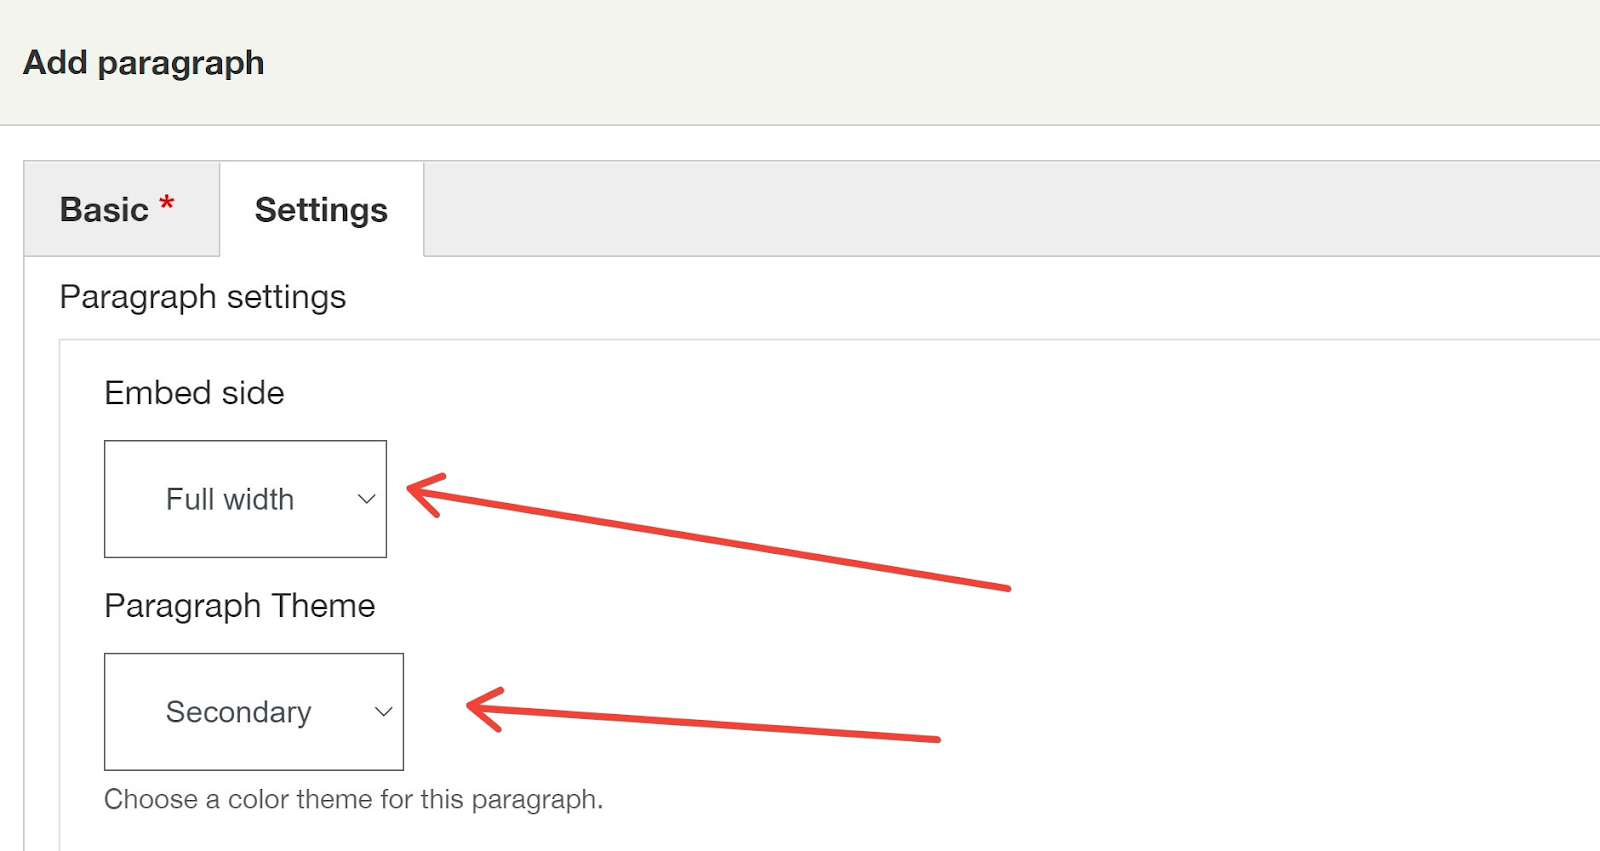
After saving, the map section is ready.
At this point, we can say that the contact page is ready. We have only one step to take.
6. Placing a link in the menu
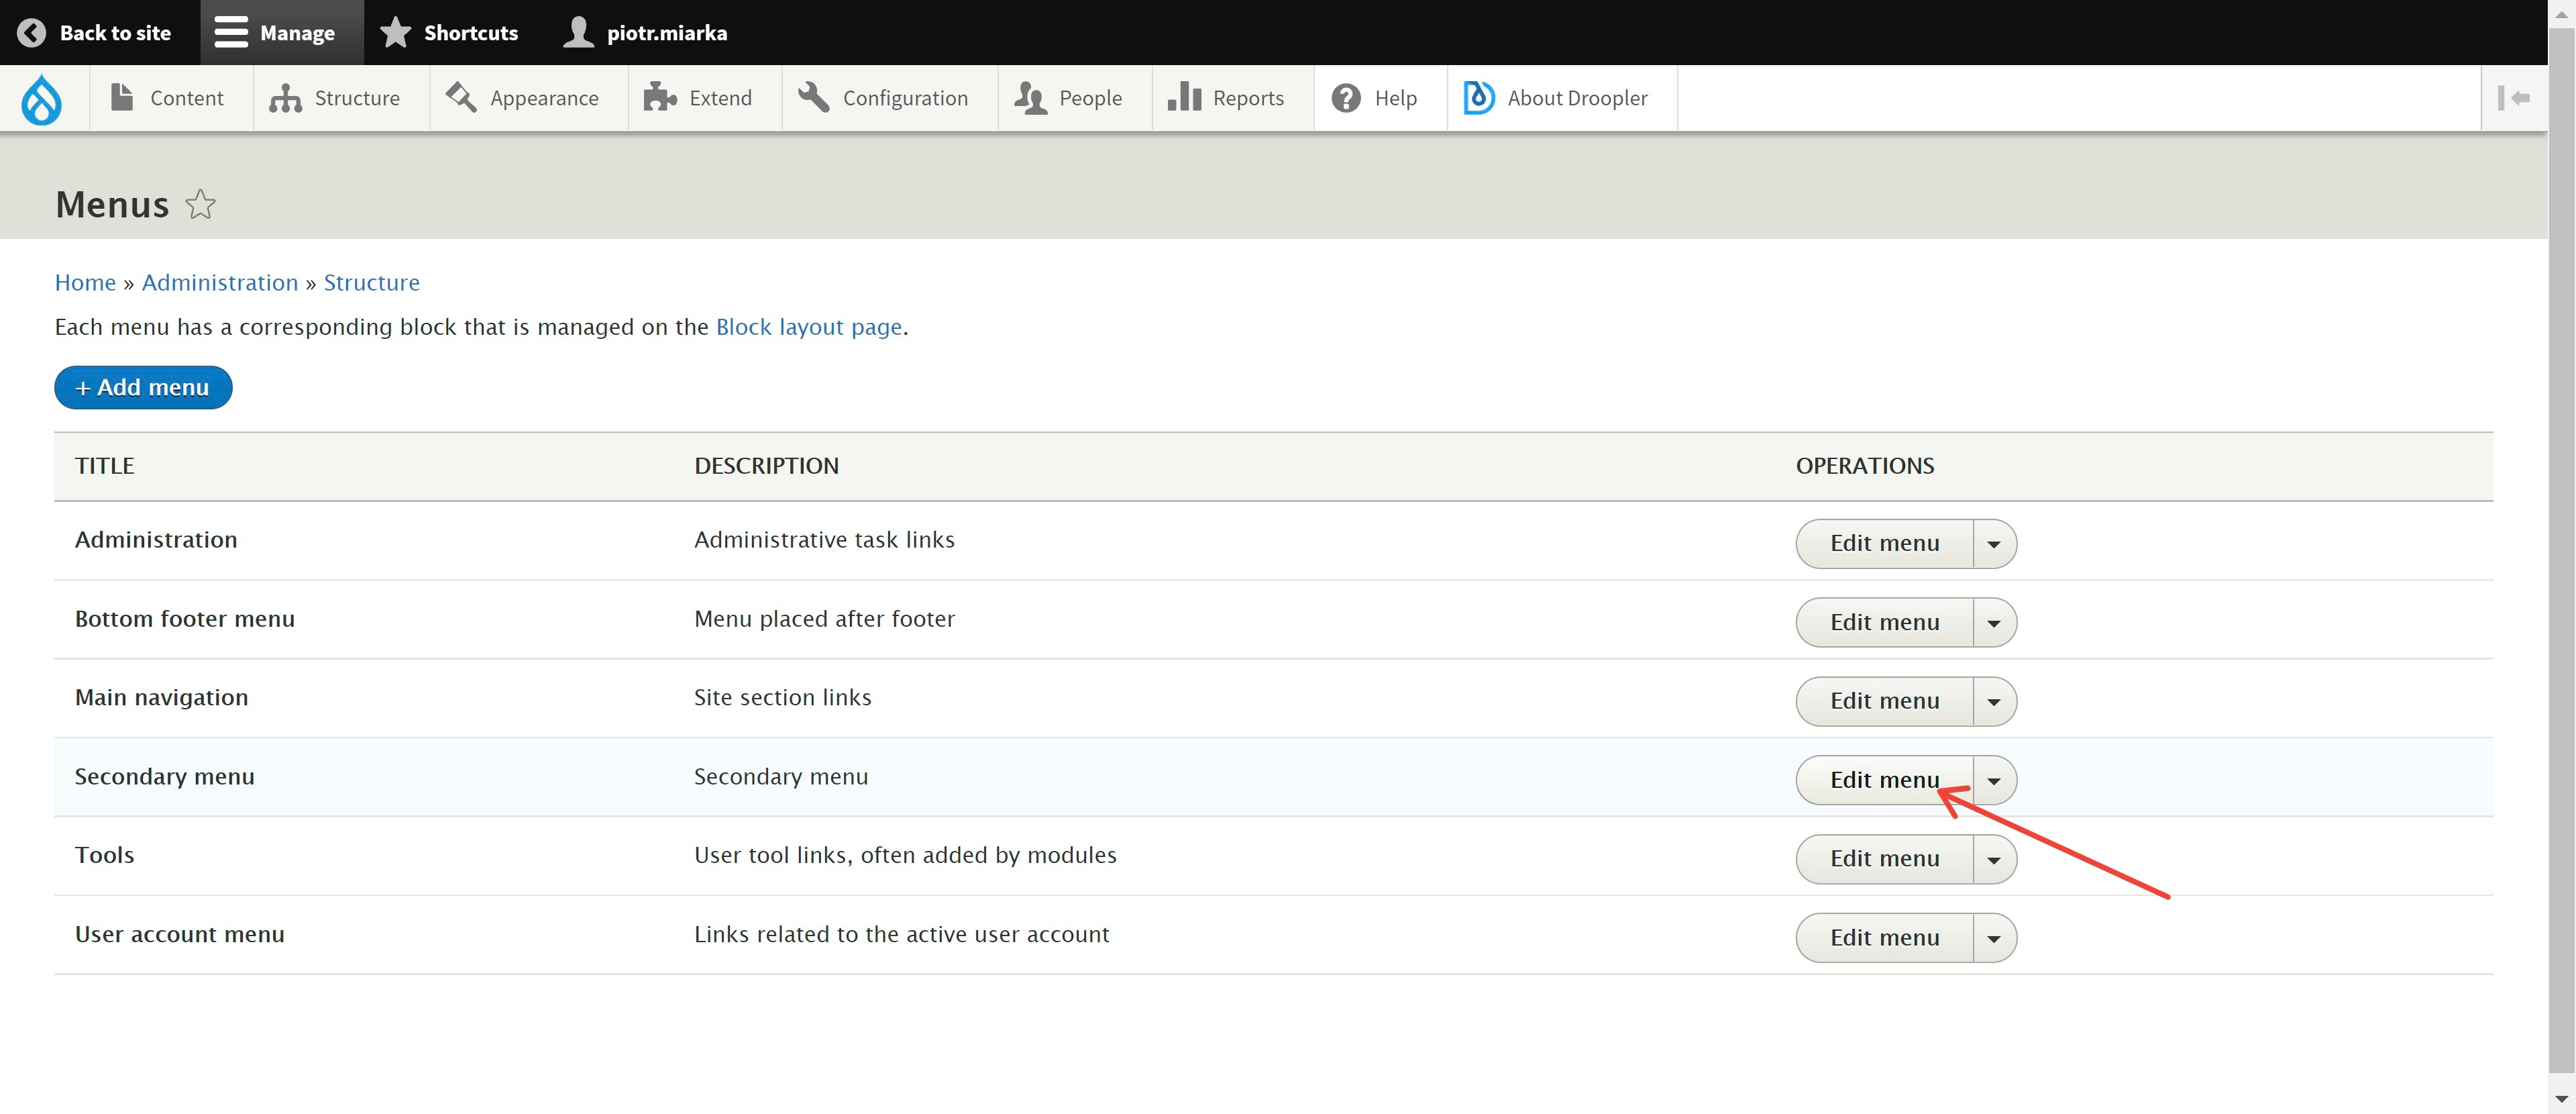
The last step is to add a link to the top menu. To do this, we select Menus in the top bar, located in the Structure tab.

We select Edit menu in Secondary menu.
Now we select “+ Add link”.

We select the link label, find the subpage we want the link to lead to, and 2 we select the options.

We save the settings by clicking Save and our task of adding a contact subpage is done.
Creating a contact page in Droopler - summary
Droopler is a simple system, providing many editing possibilities. Its main advantage is a friendly and intuitive interface, allowing you to add new elements and subpages. After a short training, even a person inexperienced in administering subpages on Drupal will be able to build a page and manage the content.